

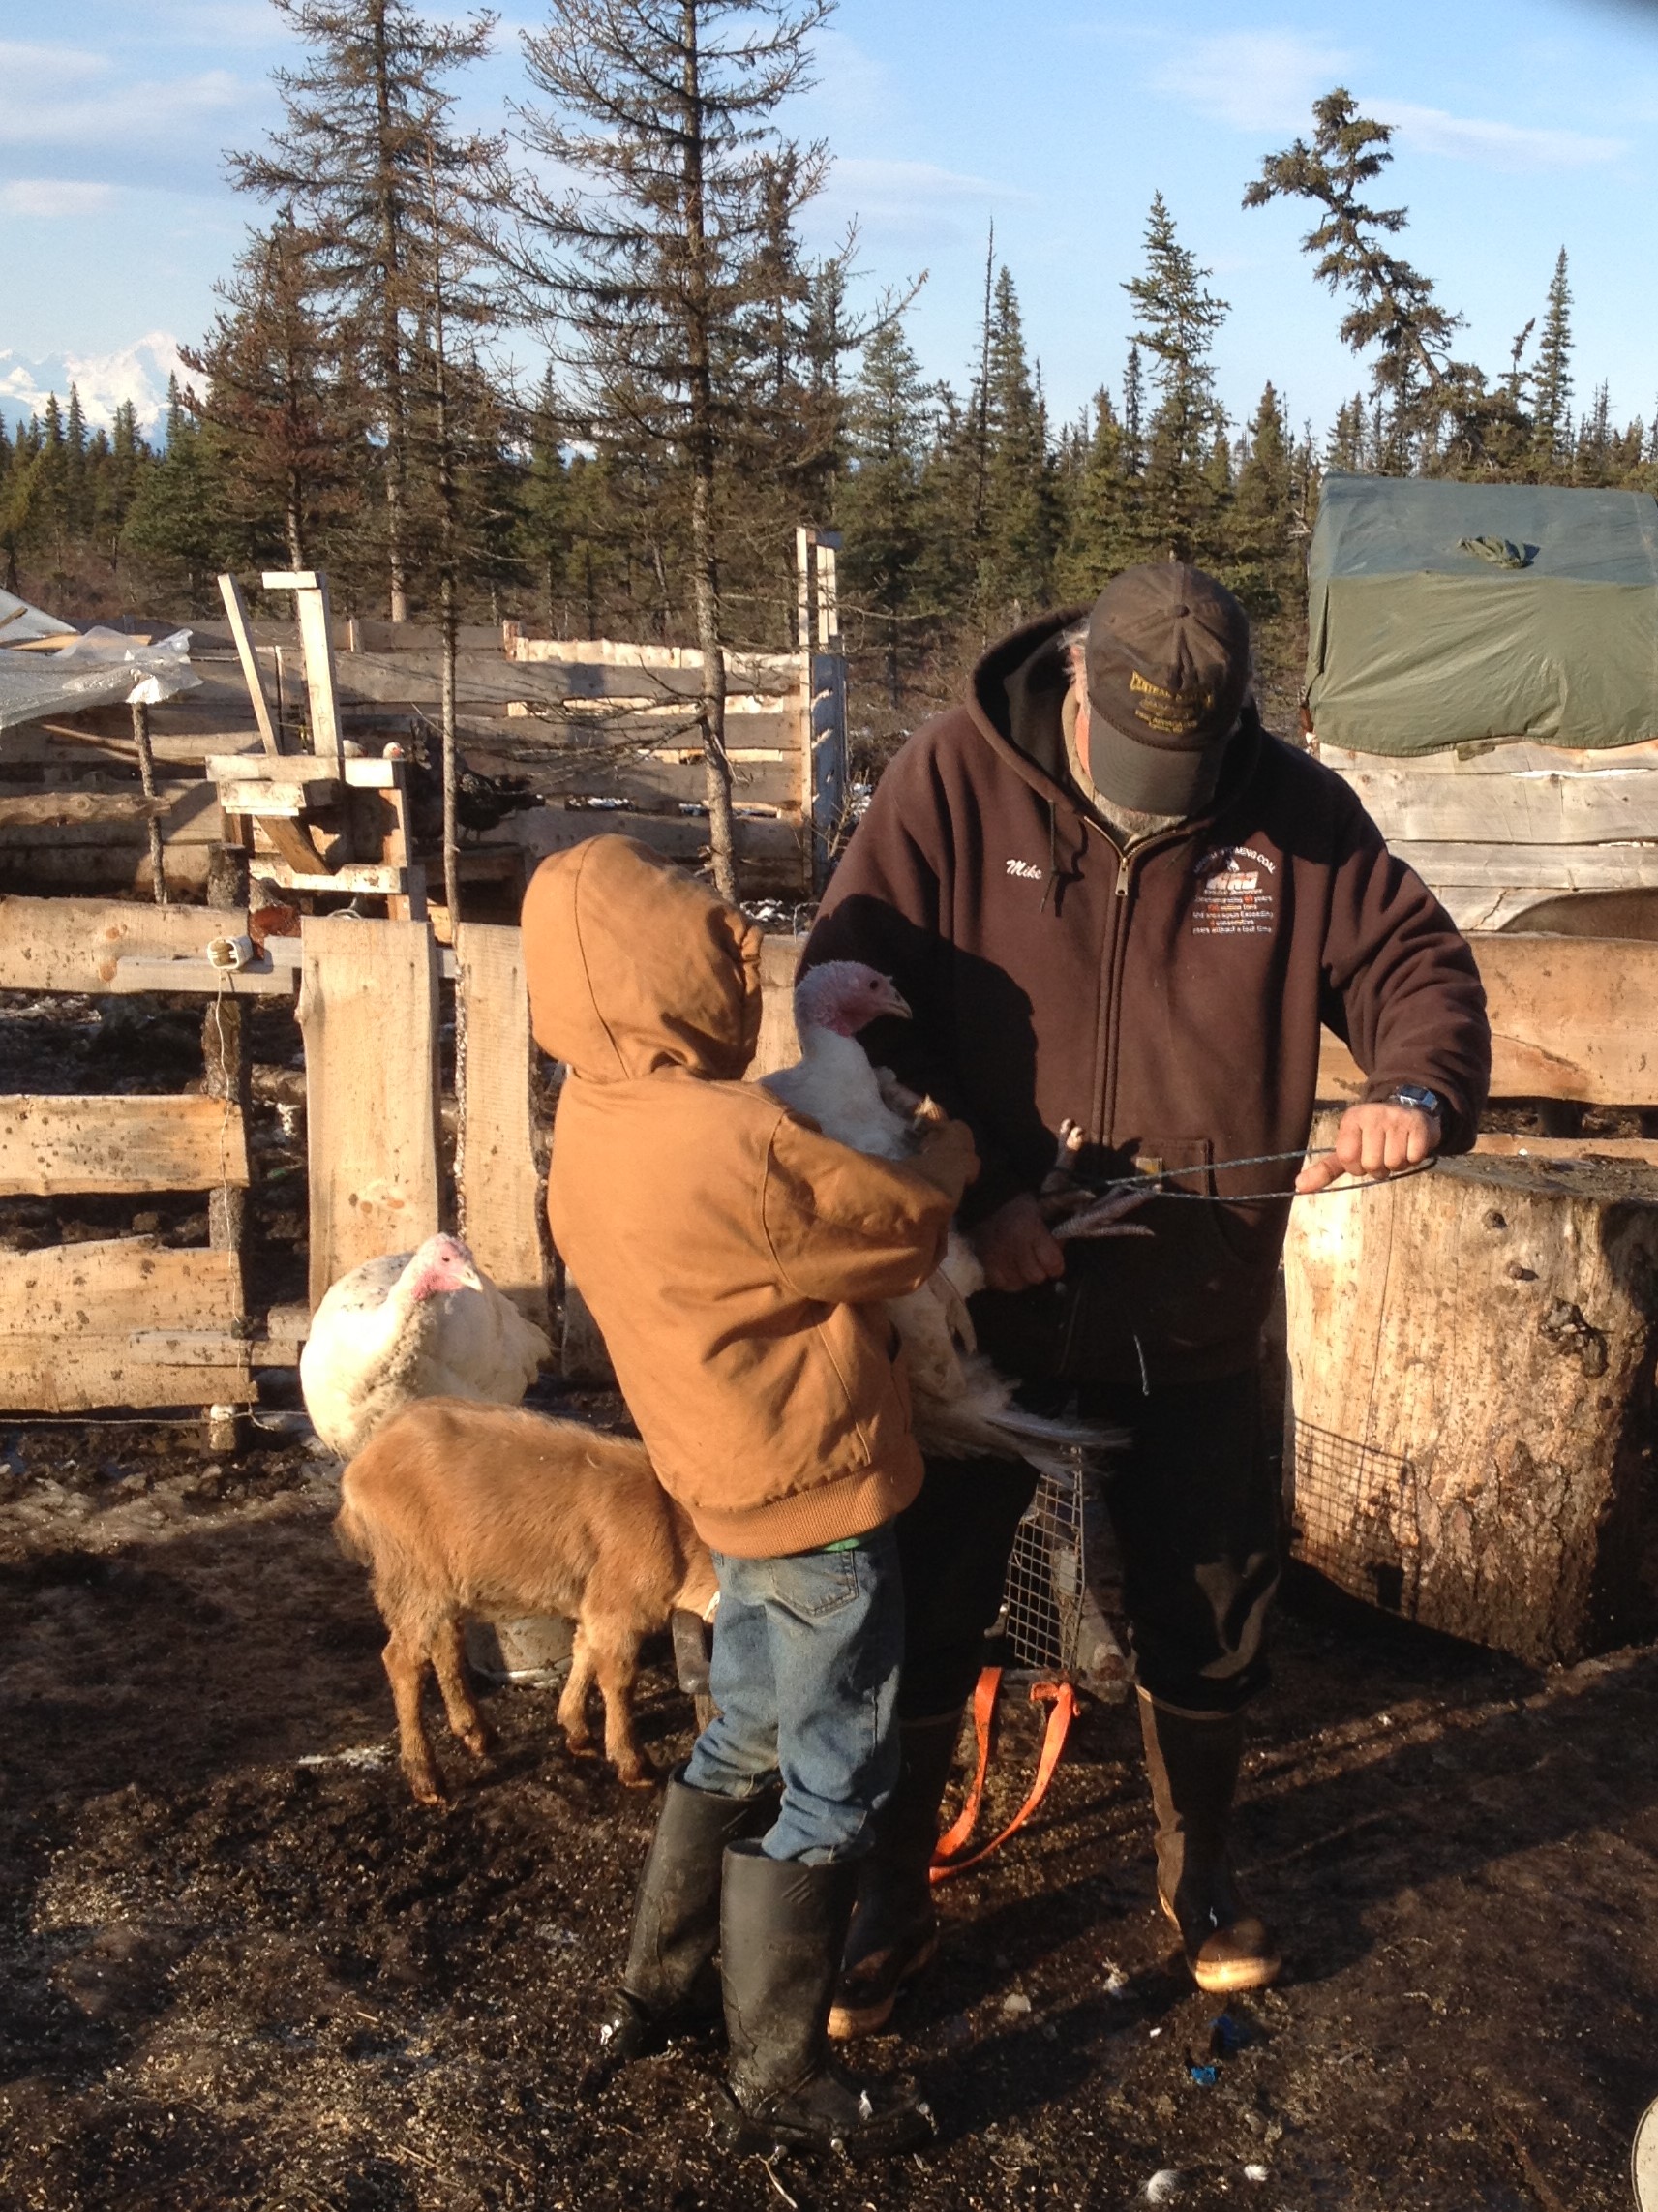
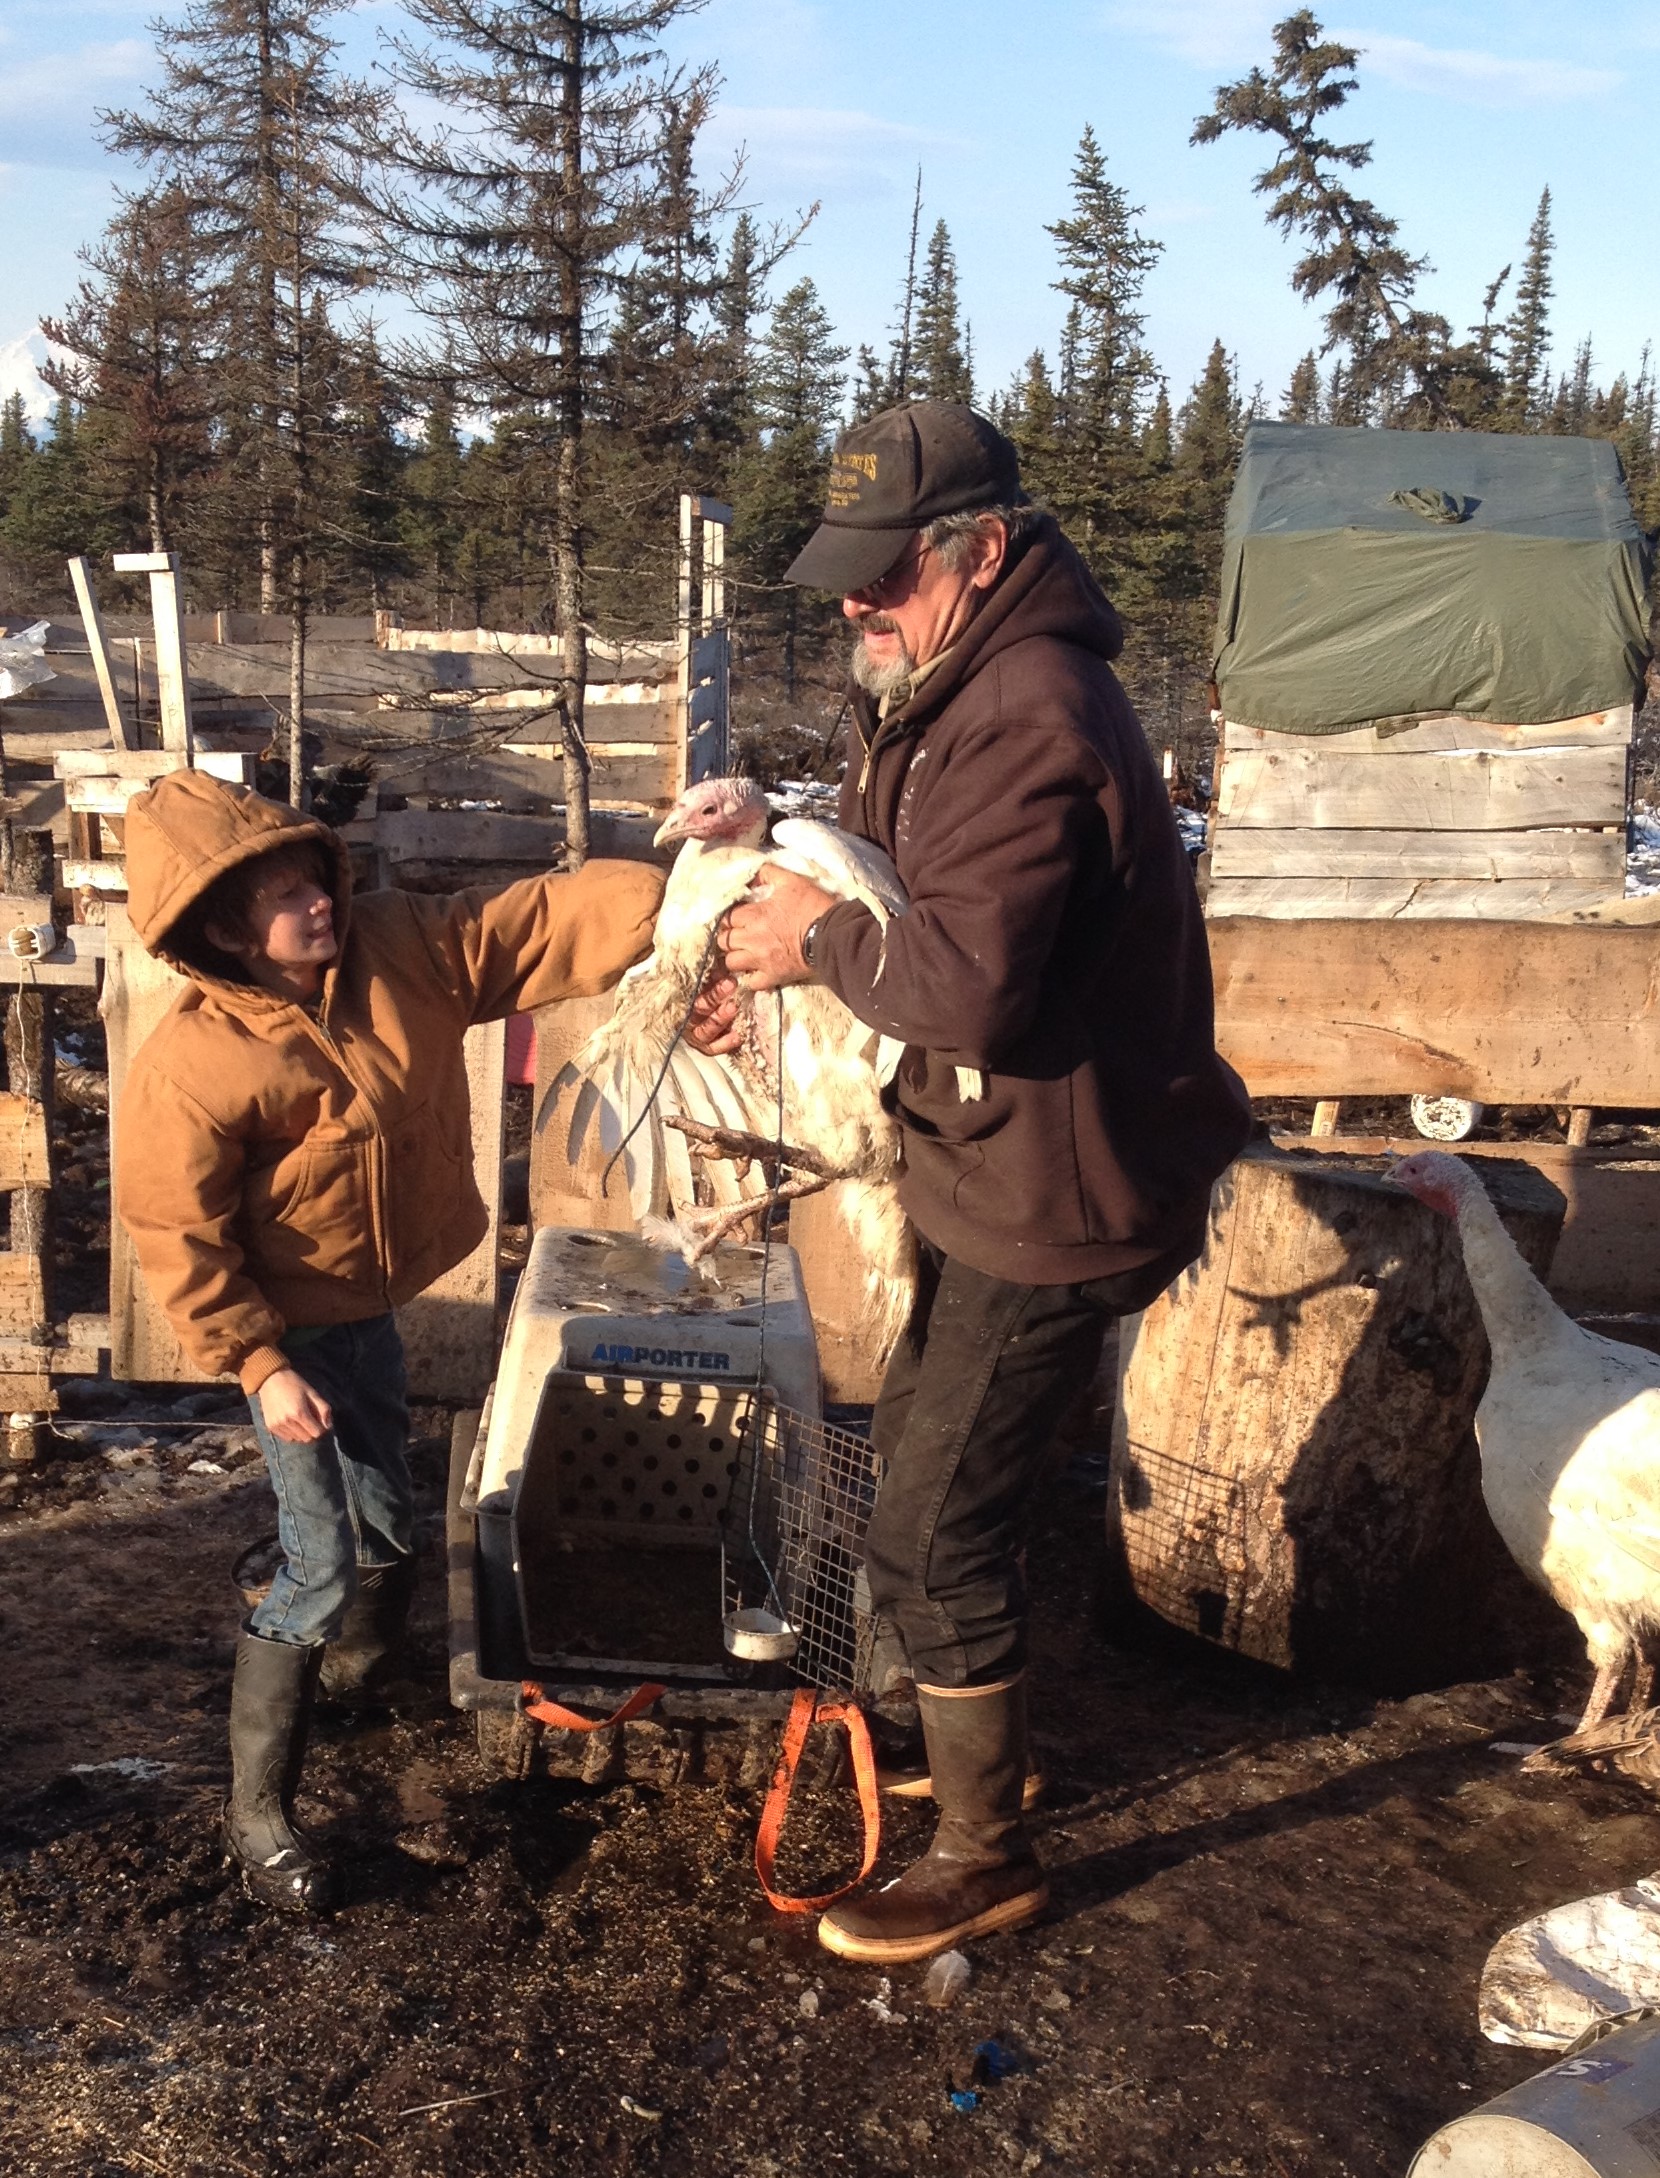
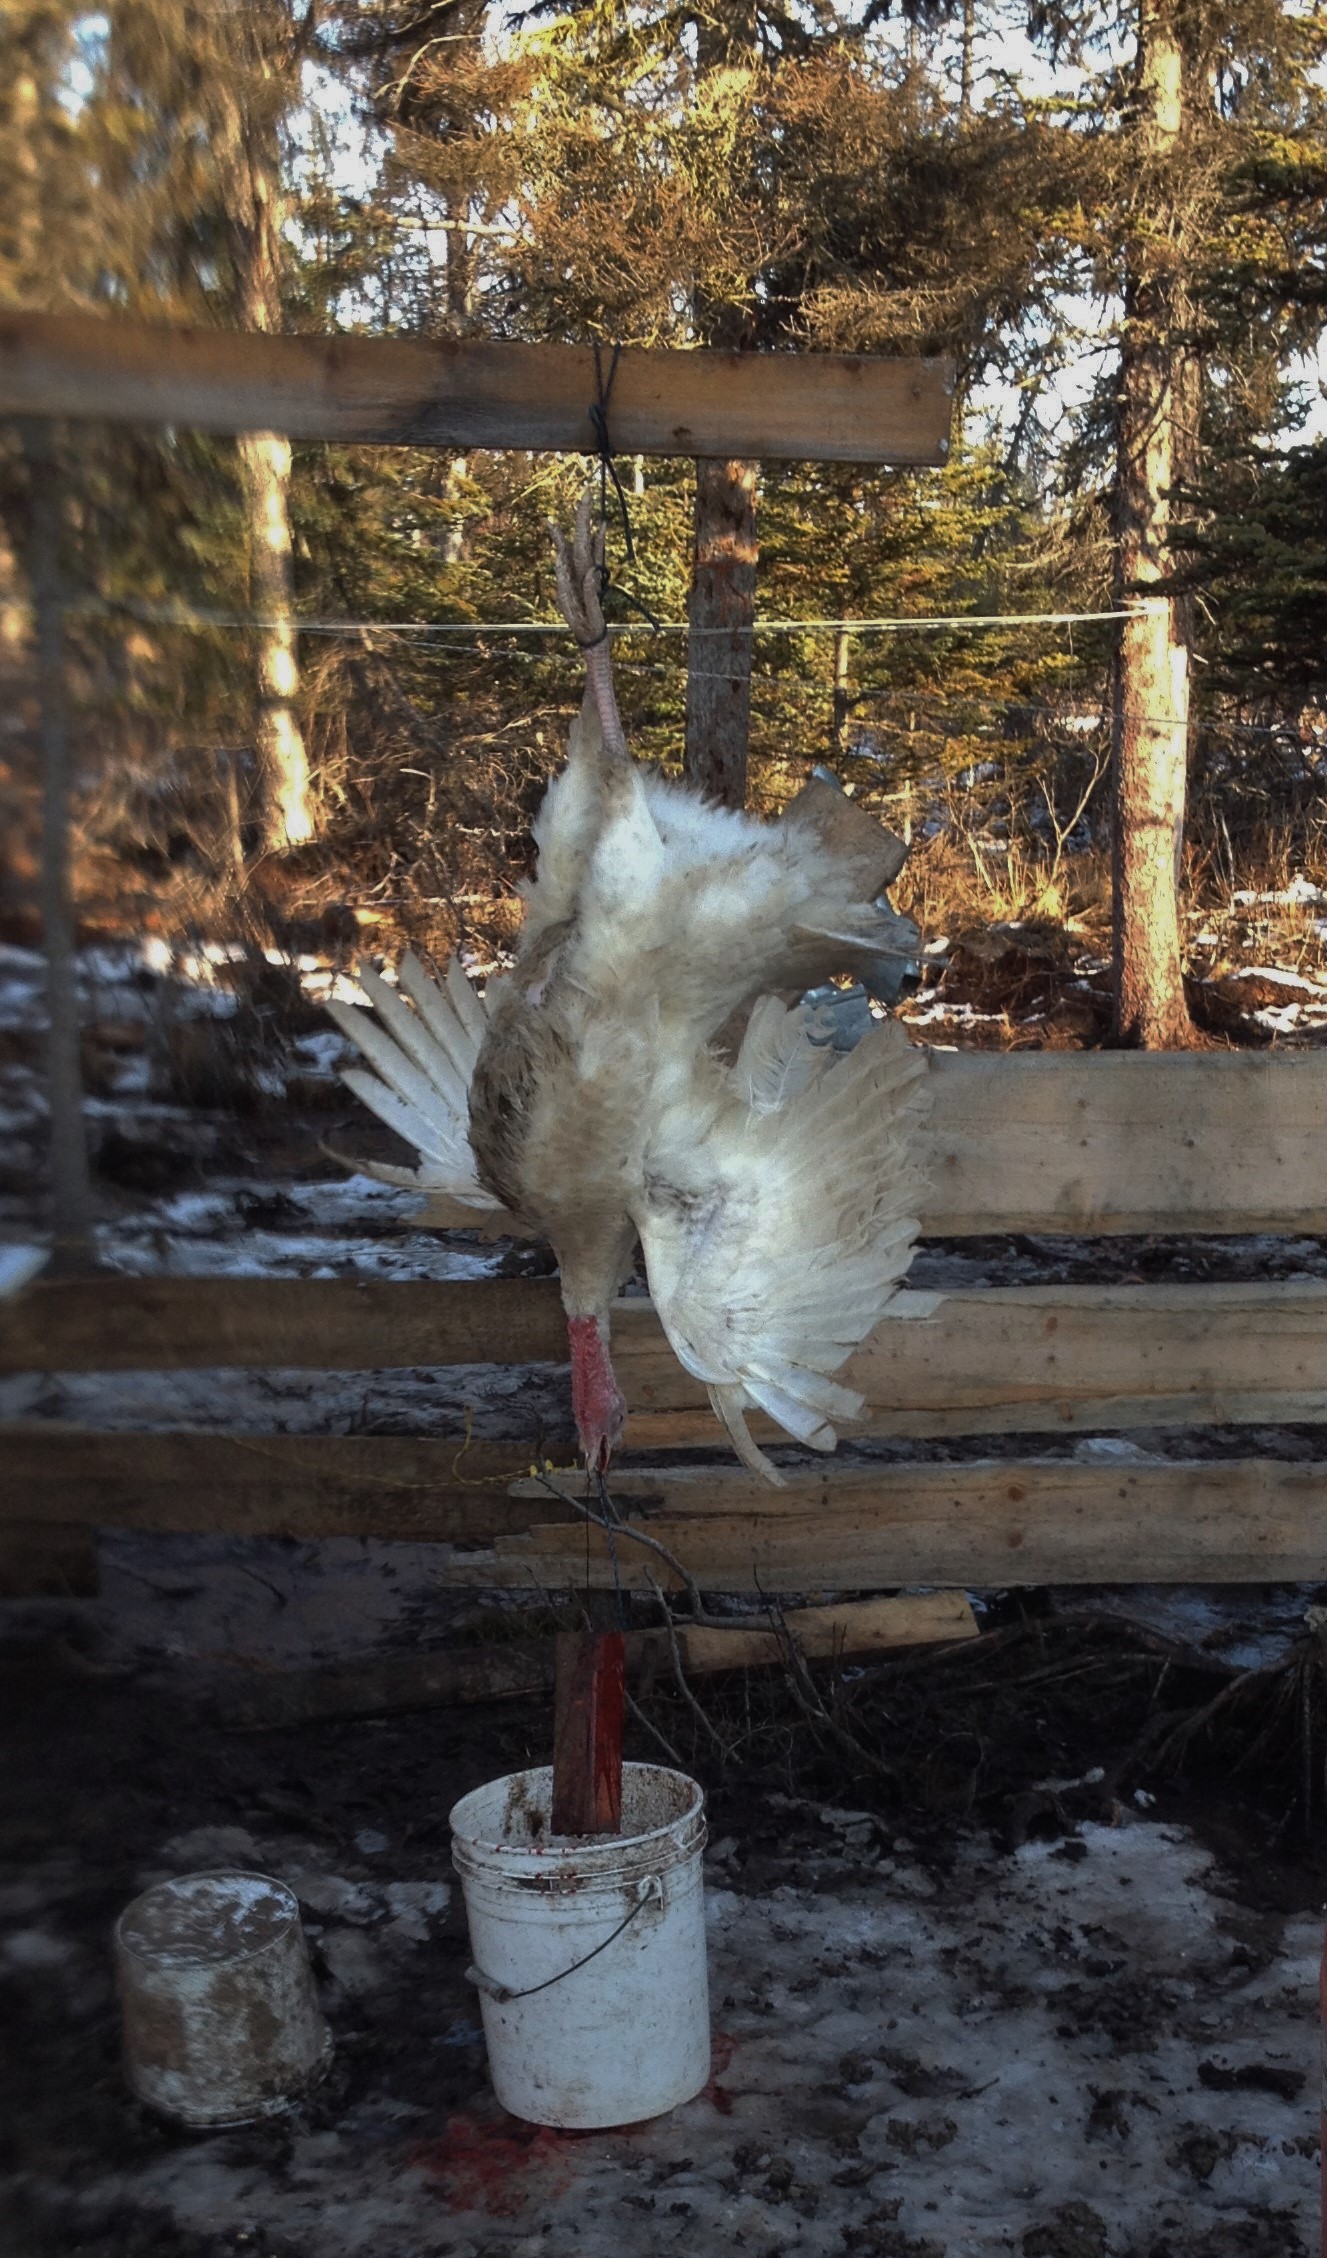
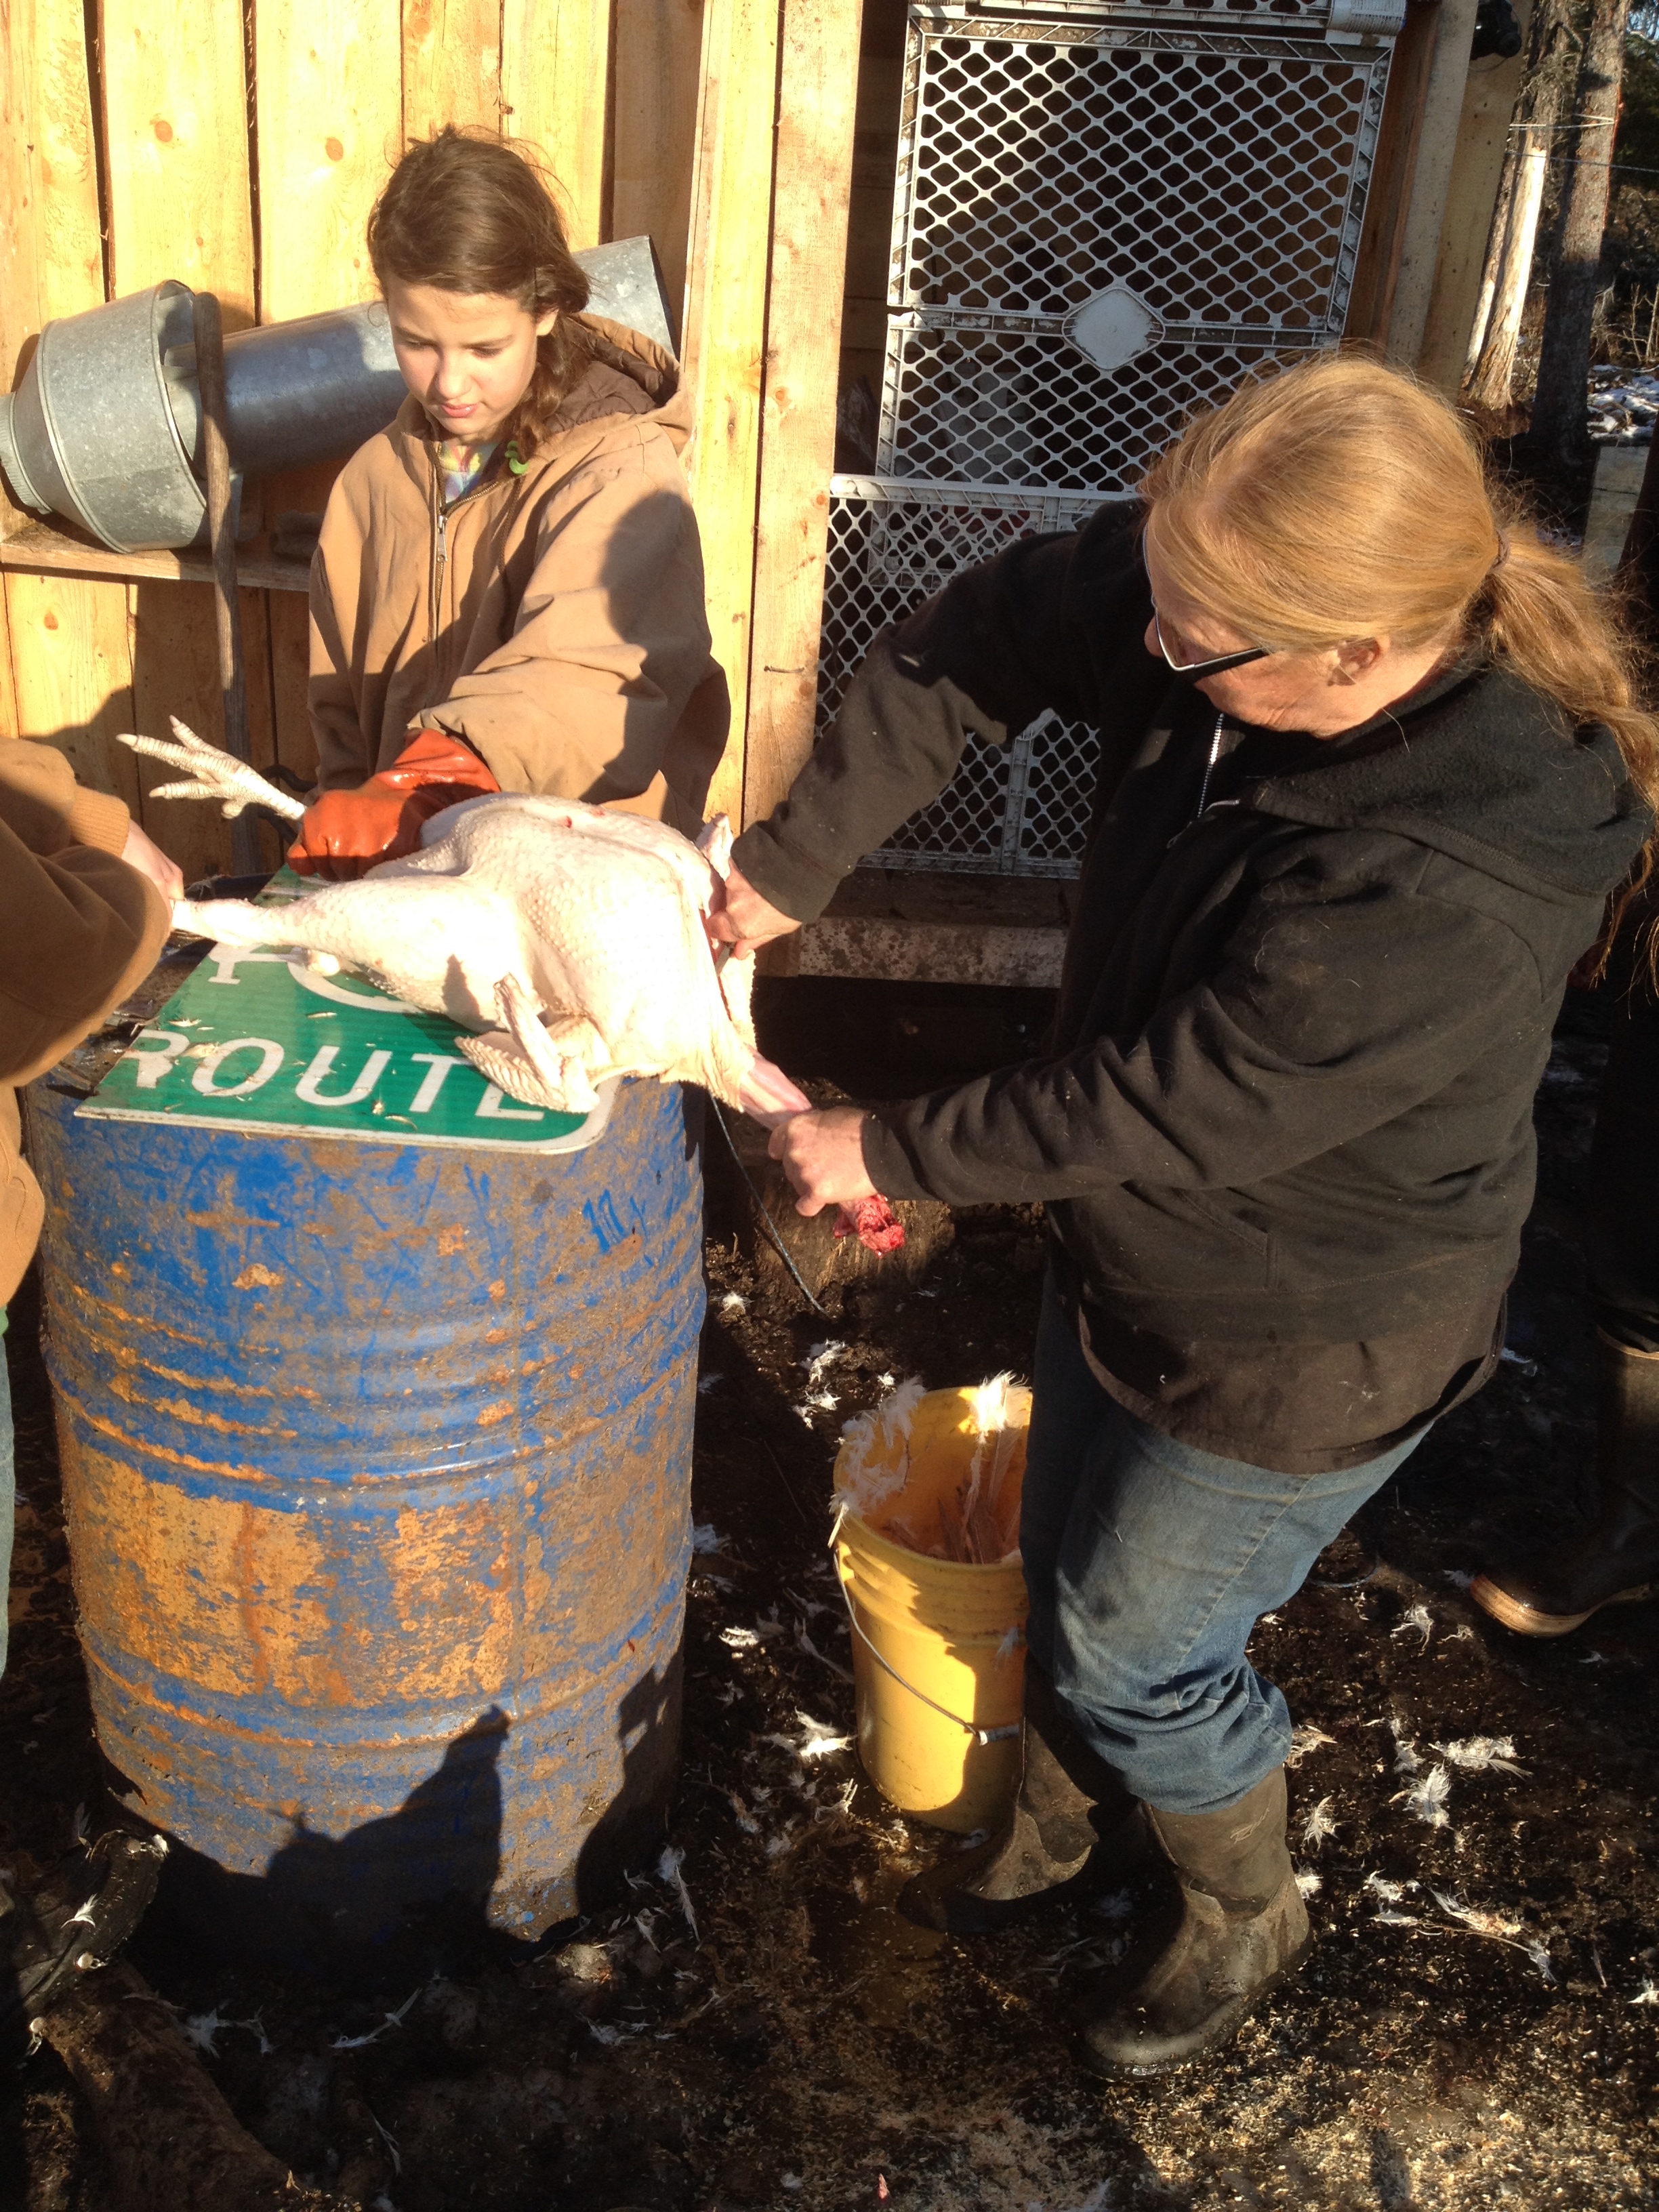
As promised I am sharing our turkey butchering. Butchering any poultry you must prepare the animals the day before. No food for 12 hours prior but allow water. This will make cleaning the birds much easier. Assemble the following: A very large pot for scalding and a heat source-propane turkey fryers work well. (you can dry pluck but I prefer scalding as it cleans the birds and removes a thin layer of skin where dirt gets trapped). A second large pot or tub of clean cold water for rinsing after gutting, a propane torch or any source of flame for singeing the pin feathers (optional) sharp knives, a cooler for the dressed bird, a separate tub of cold water for the giblets, neck and feet if you choose to keep those. A long wire with a weight (3-5 lbs.. sturdy string or twine for tying feet and hanging. While one person holds the bird with wings pressed against its sides another ties feet together-these pics show my 60 lb. 10 year old daughter holding the 30 lb. bird while hubby ties its feet. The bird is then hung up and the wire with weight is inserted in the soft tissue under the beak and through the mouth and twisted in place then quickly given a sharp tug. This will break its neck and put it into shock so it doesn’t feel pain. We then make a slit below the head (front side) to severe the artery and bleed the bird out. Allow it to hang at least 10 minutes to bleed out. You may seem some wing flapping so stay clear as the wings are powerful but it is only muscle contractions at this time. Grab head and pull while making a cut all the way around the base of the head to remove it. You may encounter a tough cord, this is the spinal cord and just cut through it.
Once the turkey is bled out untie legs and scald-make sure the water is right at boiling as it will make your job easier. Scald the bird for a couple of minutes pushing it down with feet to completely submerge any feathered areas. This is the most difficult part as the bird gets much heavier with wet feathers! Remove and test by pulling some of the leg feathers, if they come out easy then put it on the table breast side up and begin plucking. I prefer to do wings first while still hot. These feathers can be difficult. You will find that when plucking if you leave a few feathers in your fingertips and rub the smaller feathers will roll out. Some people swear by rubber gloves during this process but I have never been able to work with them on. Get off as many feathers as you can. Some new growth or broken feathers can be removed by squeezing (like a pimple) I know-yuck but that is the way it is and unless you want to find out what cooked feathers taste like you will get them out. Some feathers are very small almost hairlike and that’s when using the torch comes in handy as it burns them off leaving a tiny back spot that will wash away.
Once you have plucked and singed put bird breast side up on table with neck facing you, grab the skin on the neck and slide down. Cut this skin off 3 -4 inches from the body then push it back against body. Holding bird with one hand stretch out the neck as far as you can. This will separate the neck bones and make removal easier. as close to the body as you can slice through the flesh all the way around the base of the neck and set down your knife. If you have some help holding bird this will be much easier. Grab the neck and twist then with tip of knife sever any tissue that is still connected. An alternative way to do this is to use large garden clippers to cut through the neck.
Once this is completed take your fingers and slide along the skin on the right side and separate the craw from the attaching tissues and pull this out (this is why no food for 12 hours, an empty craw is much cleaner to deal with).cut it off and discard.
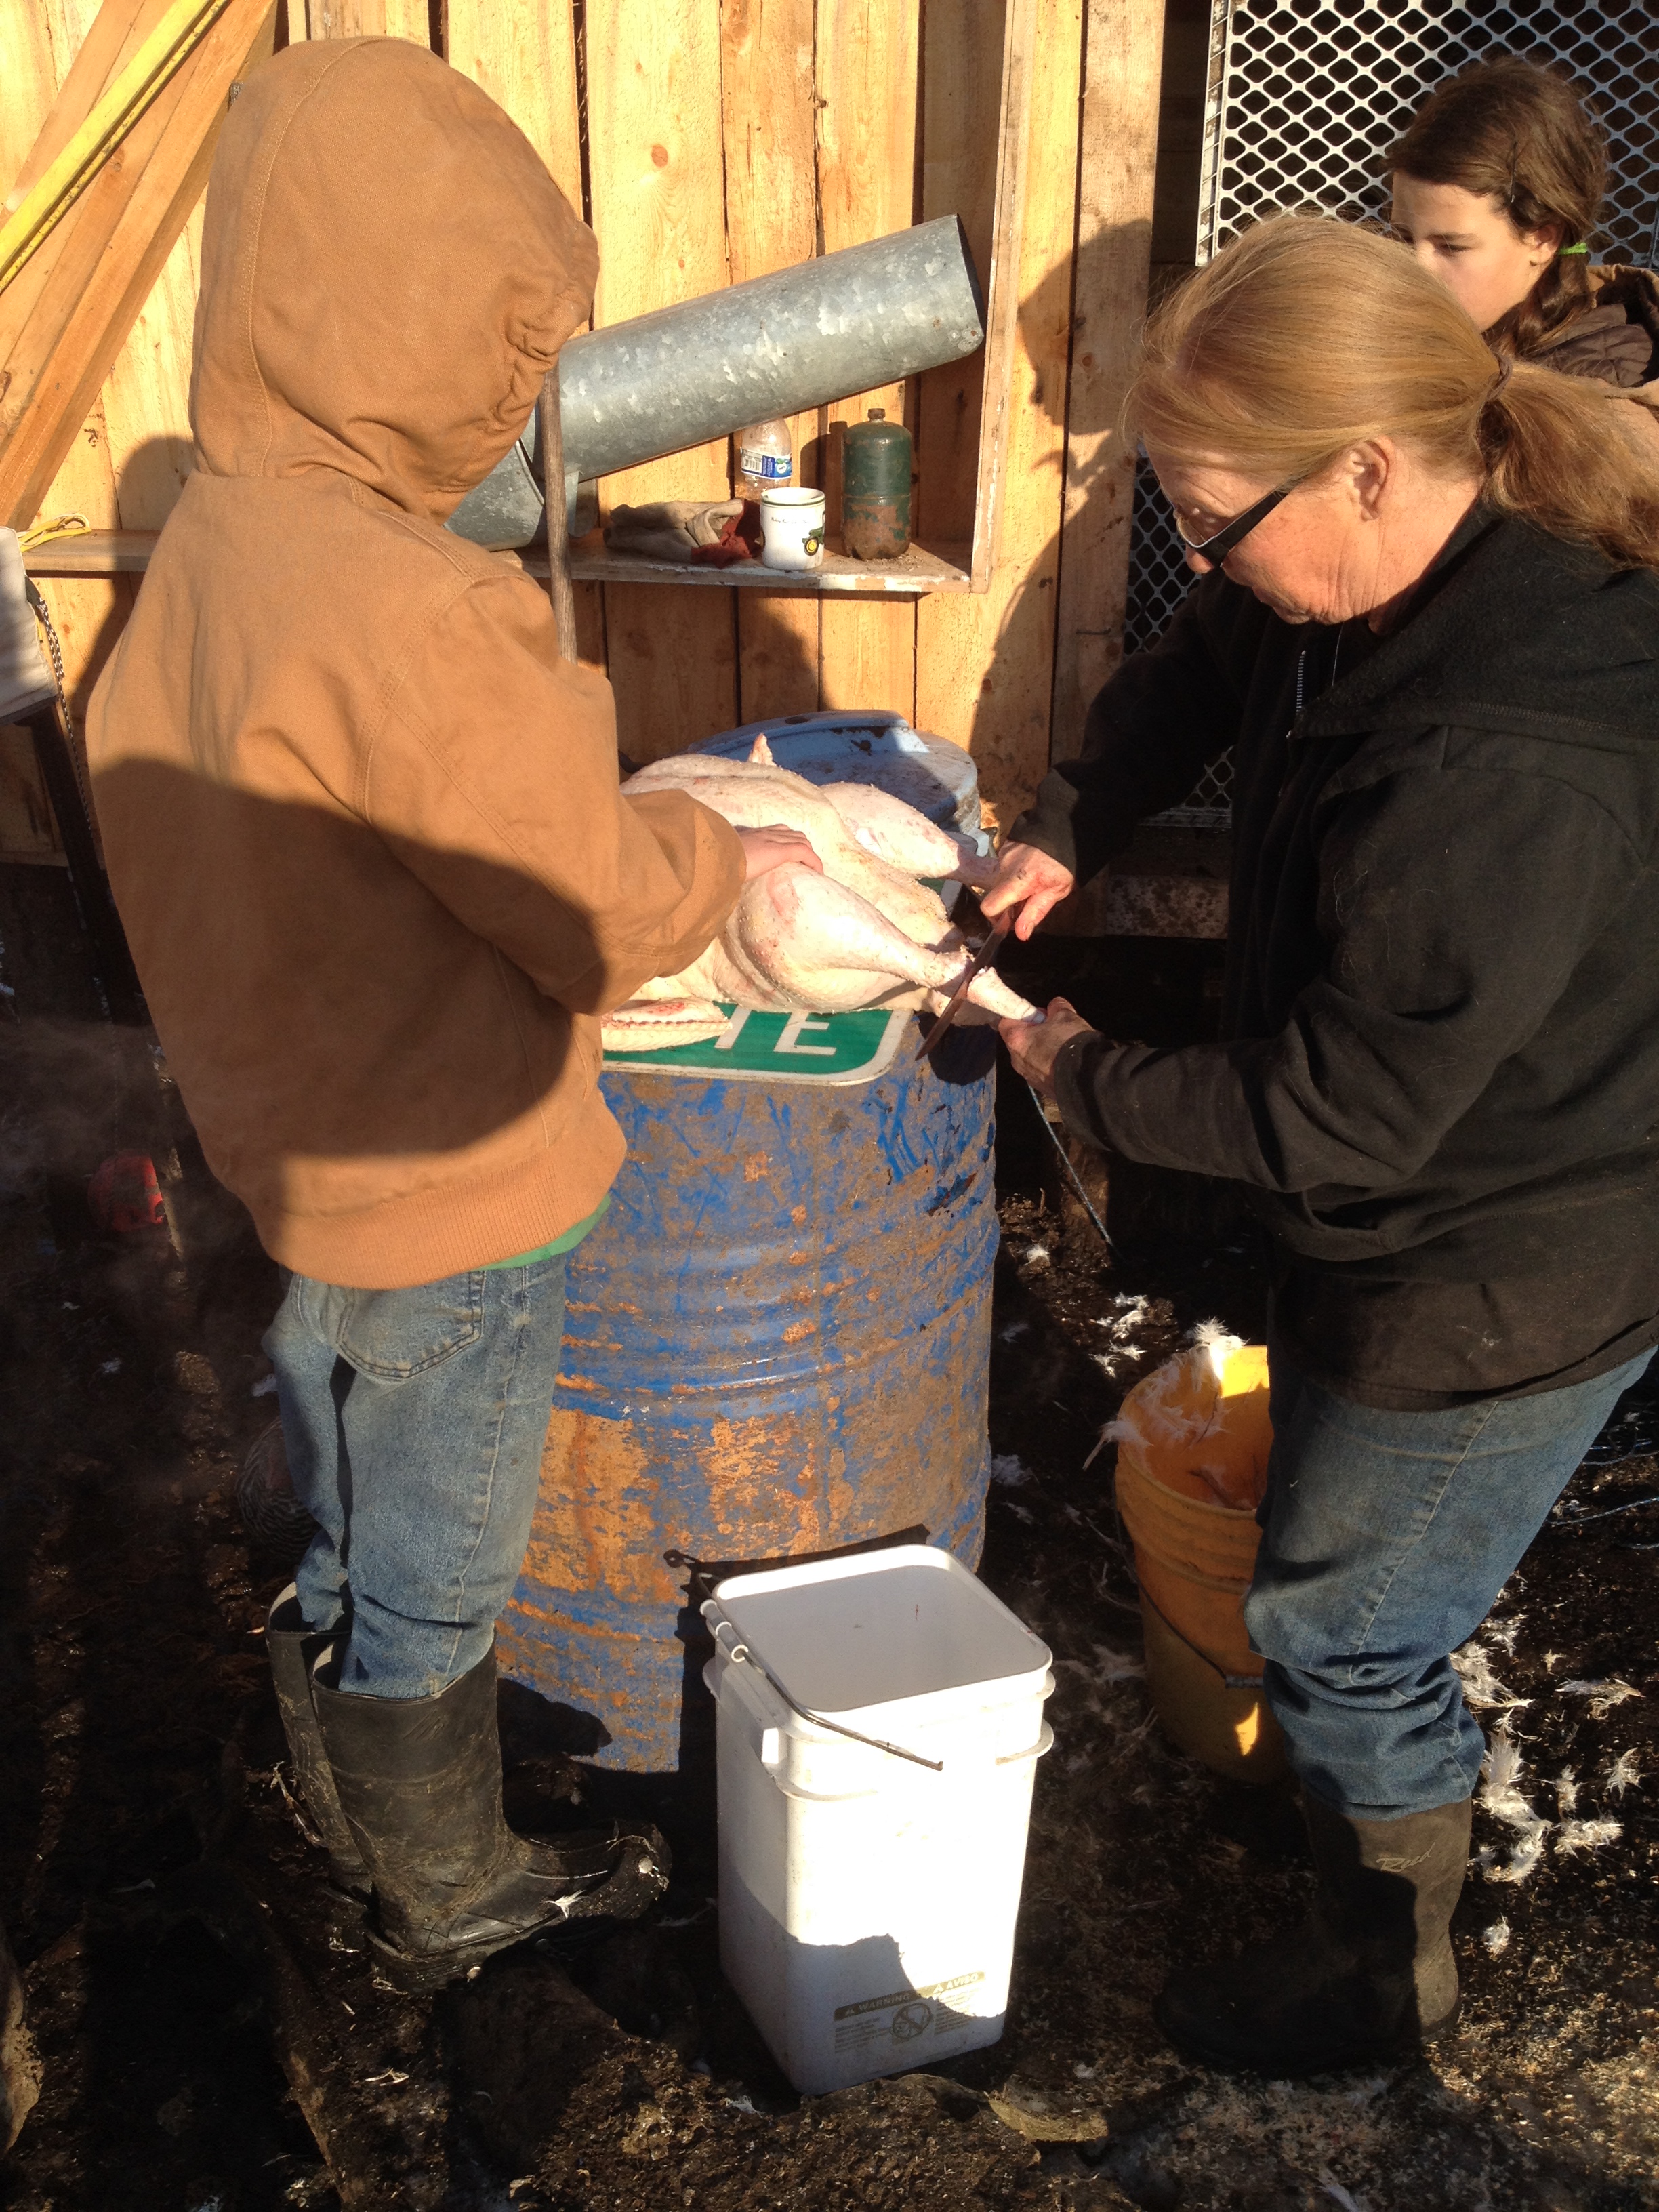

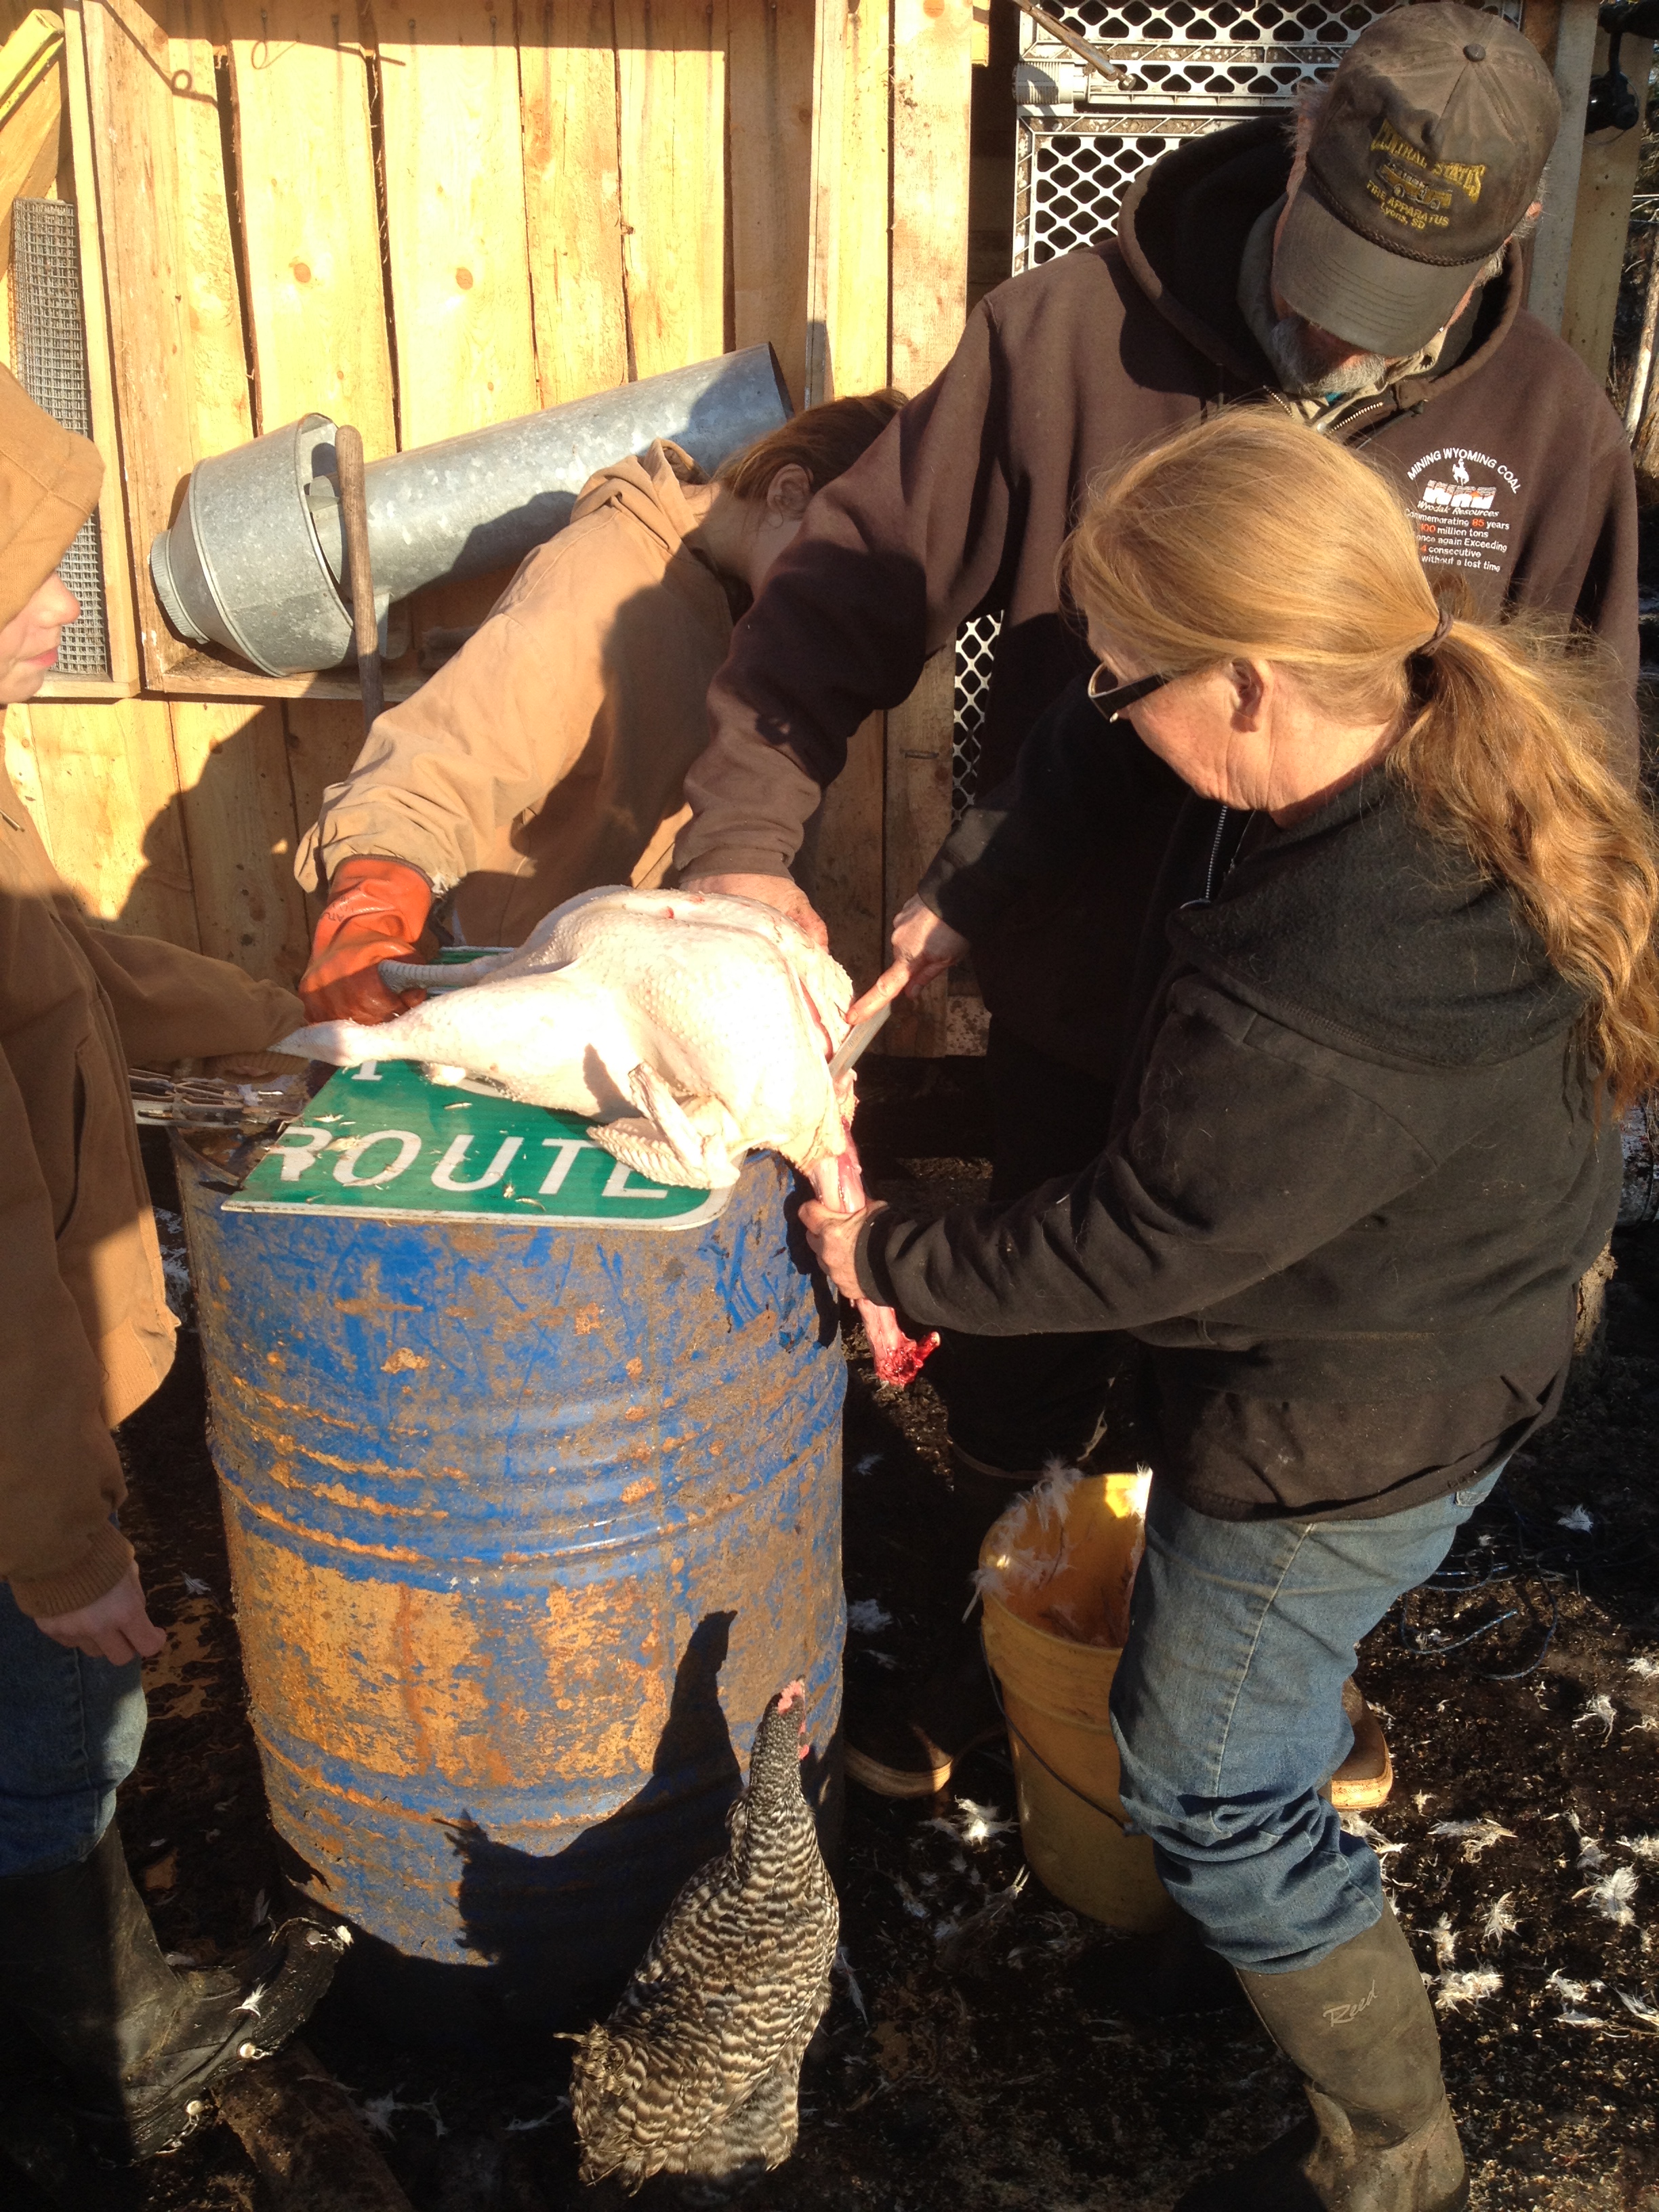
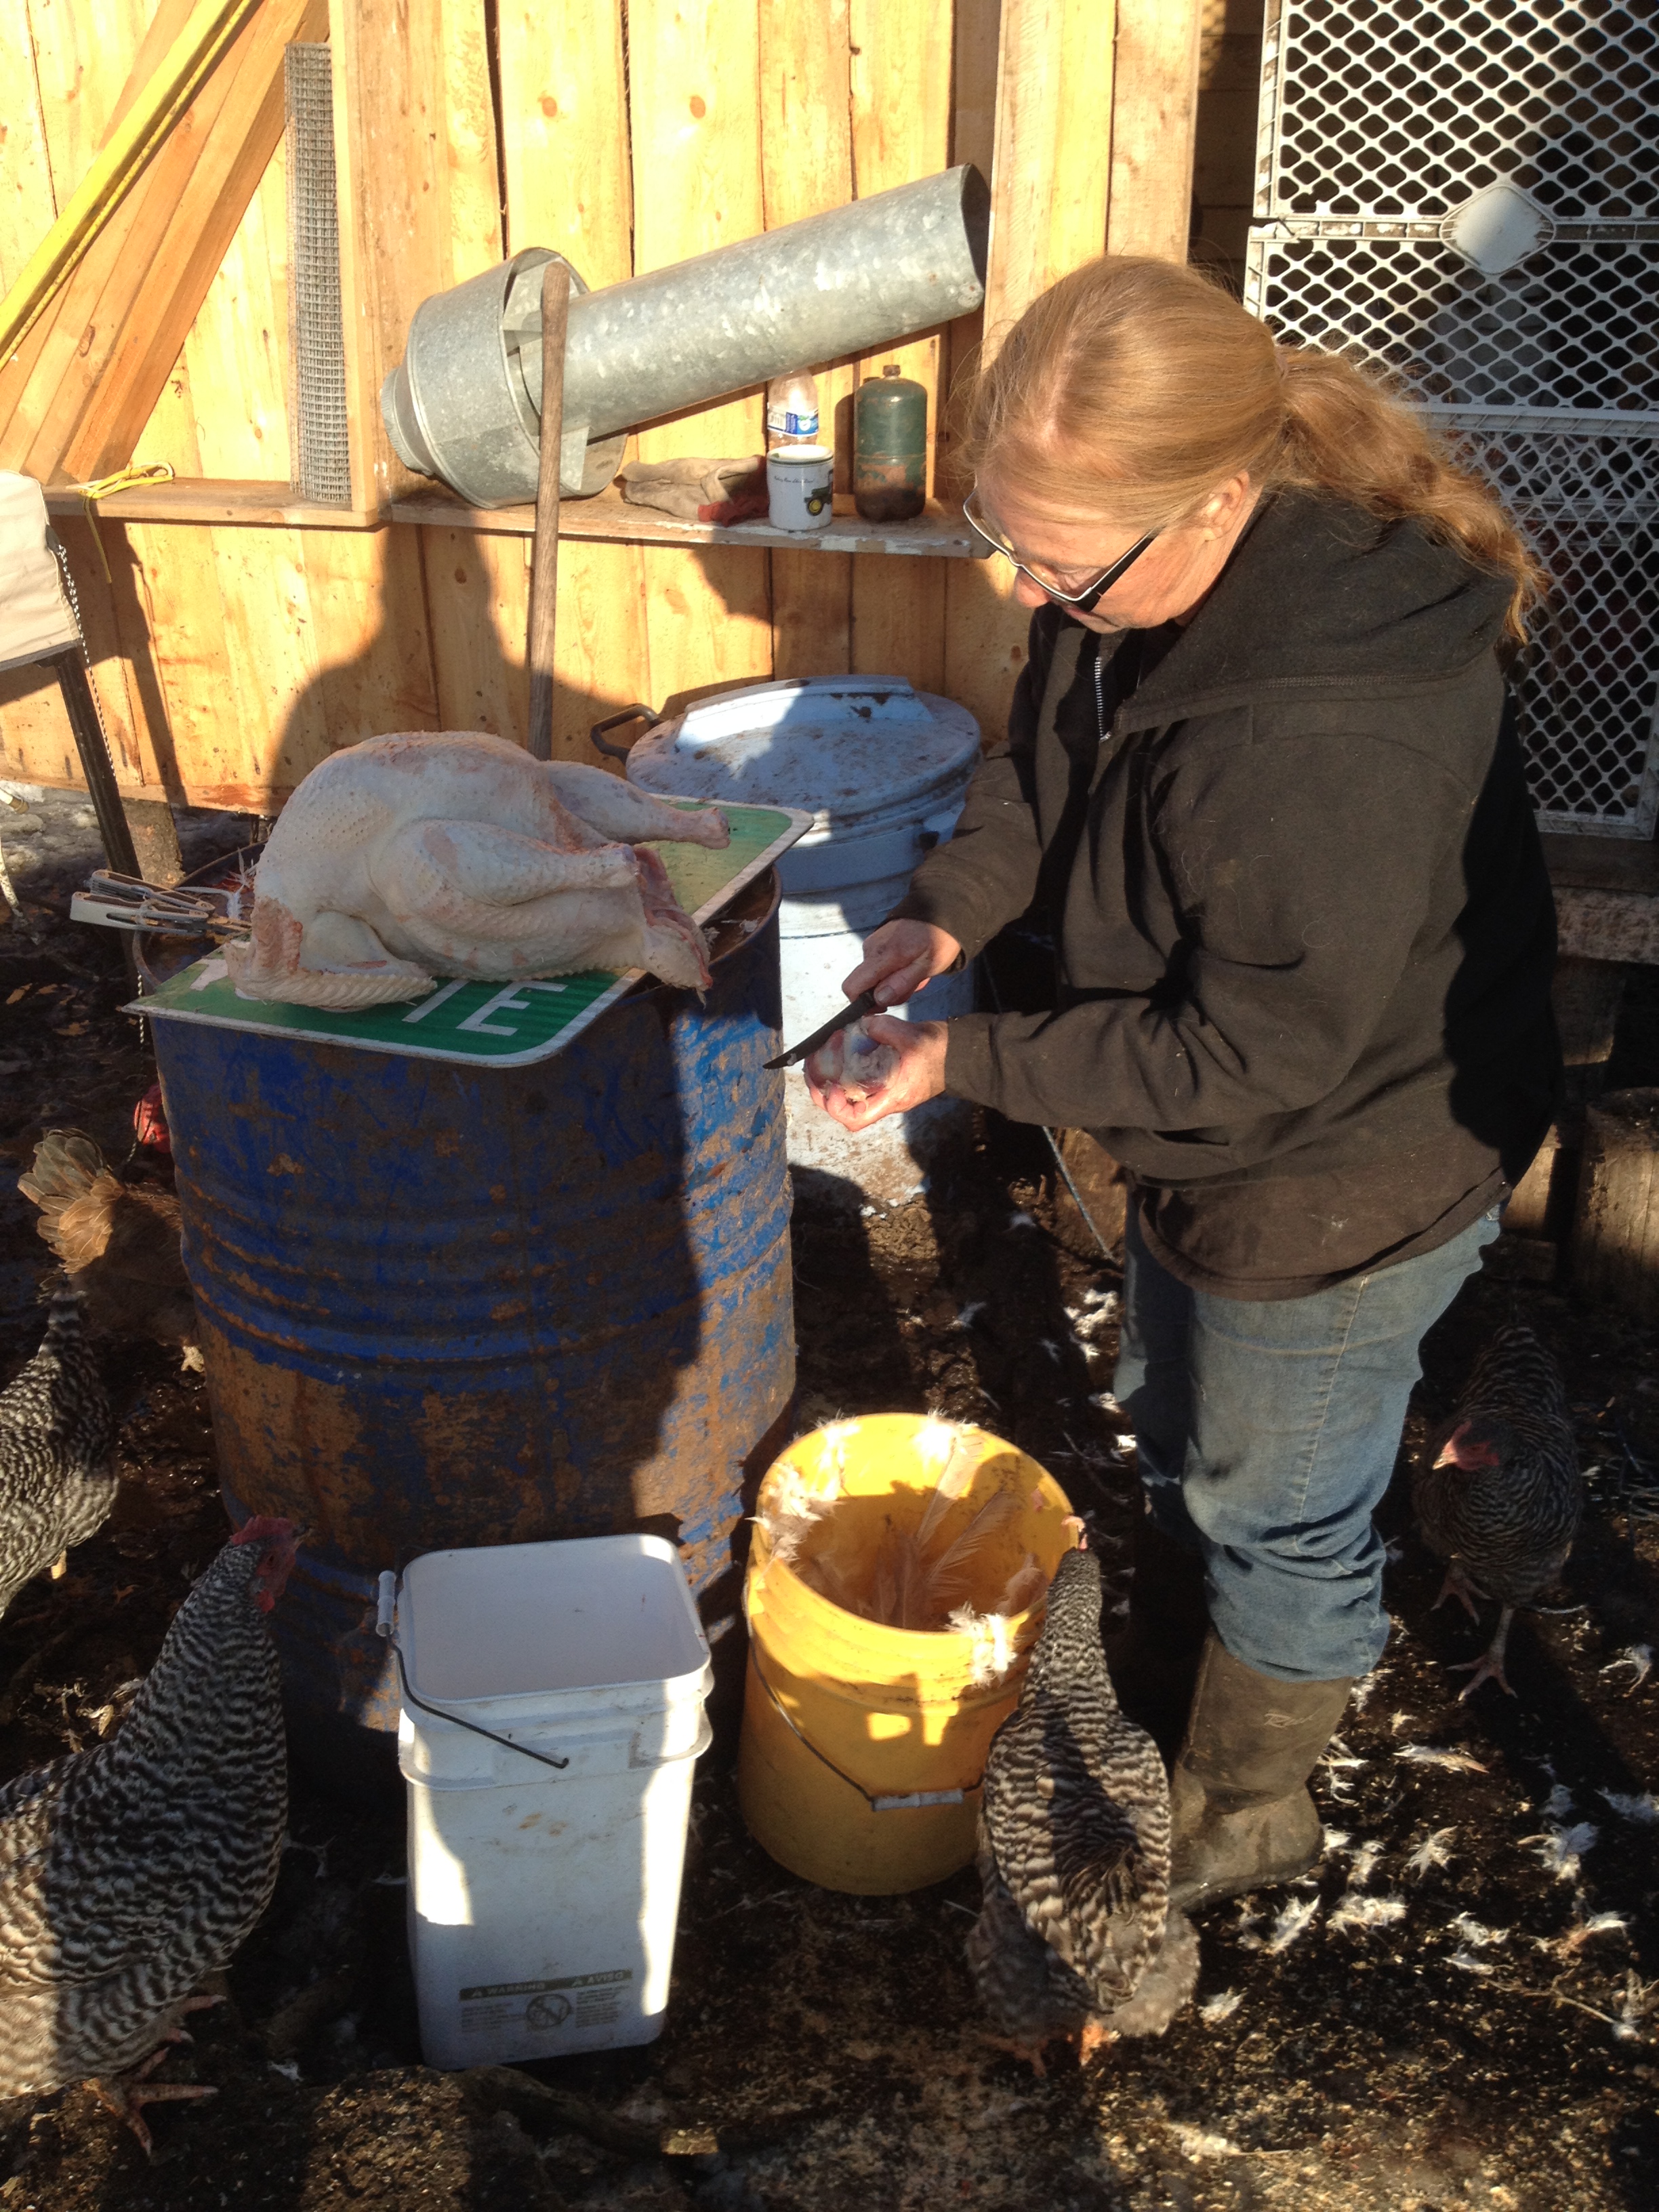
Turn the bird around still breast side up and at the knee joint slice through at the bend and snap backwards to reveal the inside of joint and cut the tendon inside continuing on through to slice through skin and remove feet. After a bit of practice this part gets easier to do. once feet are removed then make a horizontal slit a half inch above the cloaca (yep its discharge end) this is made easier by sliding the skin up on the breast and making it taut. Slip your fingers in to help guide knife and cut around the cloaca now enlarge the horizontal cut large enough to get your hand in. Sliding fingers in an upward movement against the breast bone grab the gizzard, it feels like a hard rock in there. Pull that out and the innards will follow. Cut the gizzard free and set aside then find the liver it looks like a big red blob. Notice the green sac hanging from it-do not puncture or cut that as it is full of bile (if you do quickly wash off all traces) cut around the bile sac to remove liver and set aside. Now remove the rest of the innards and discard. Reaching back in feel all the way up to neck and grab out the heart. Trim away the veins and arteries and set that aside in your cold water tub. Once all the guts have been removed rake your fingers along the rib cage to remove air sacs and windpipe. Put the bird in the cold water tub and scrub the remaining blood and airsacs out then wipe over outside to wash off any bits that have stuck.


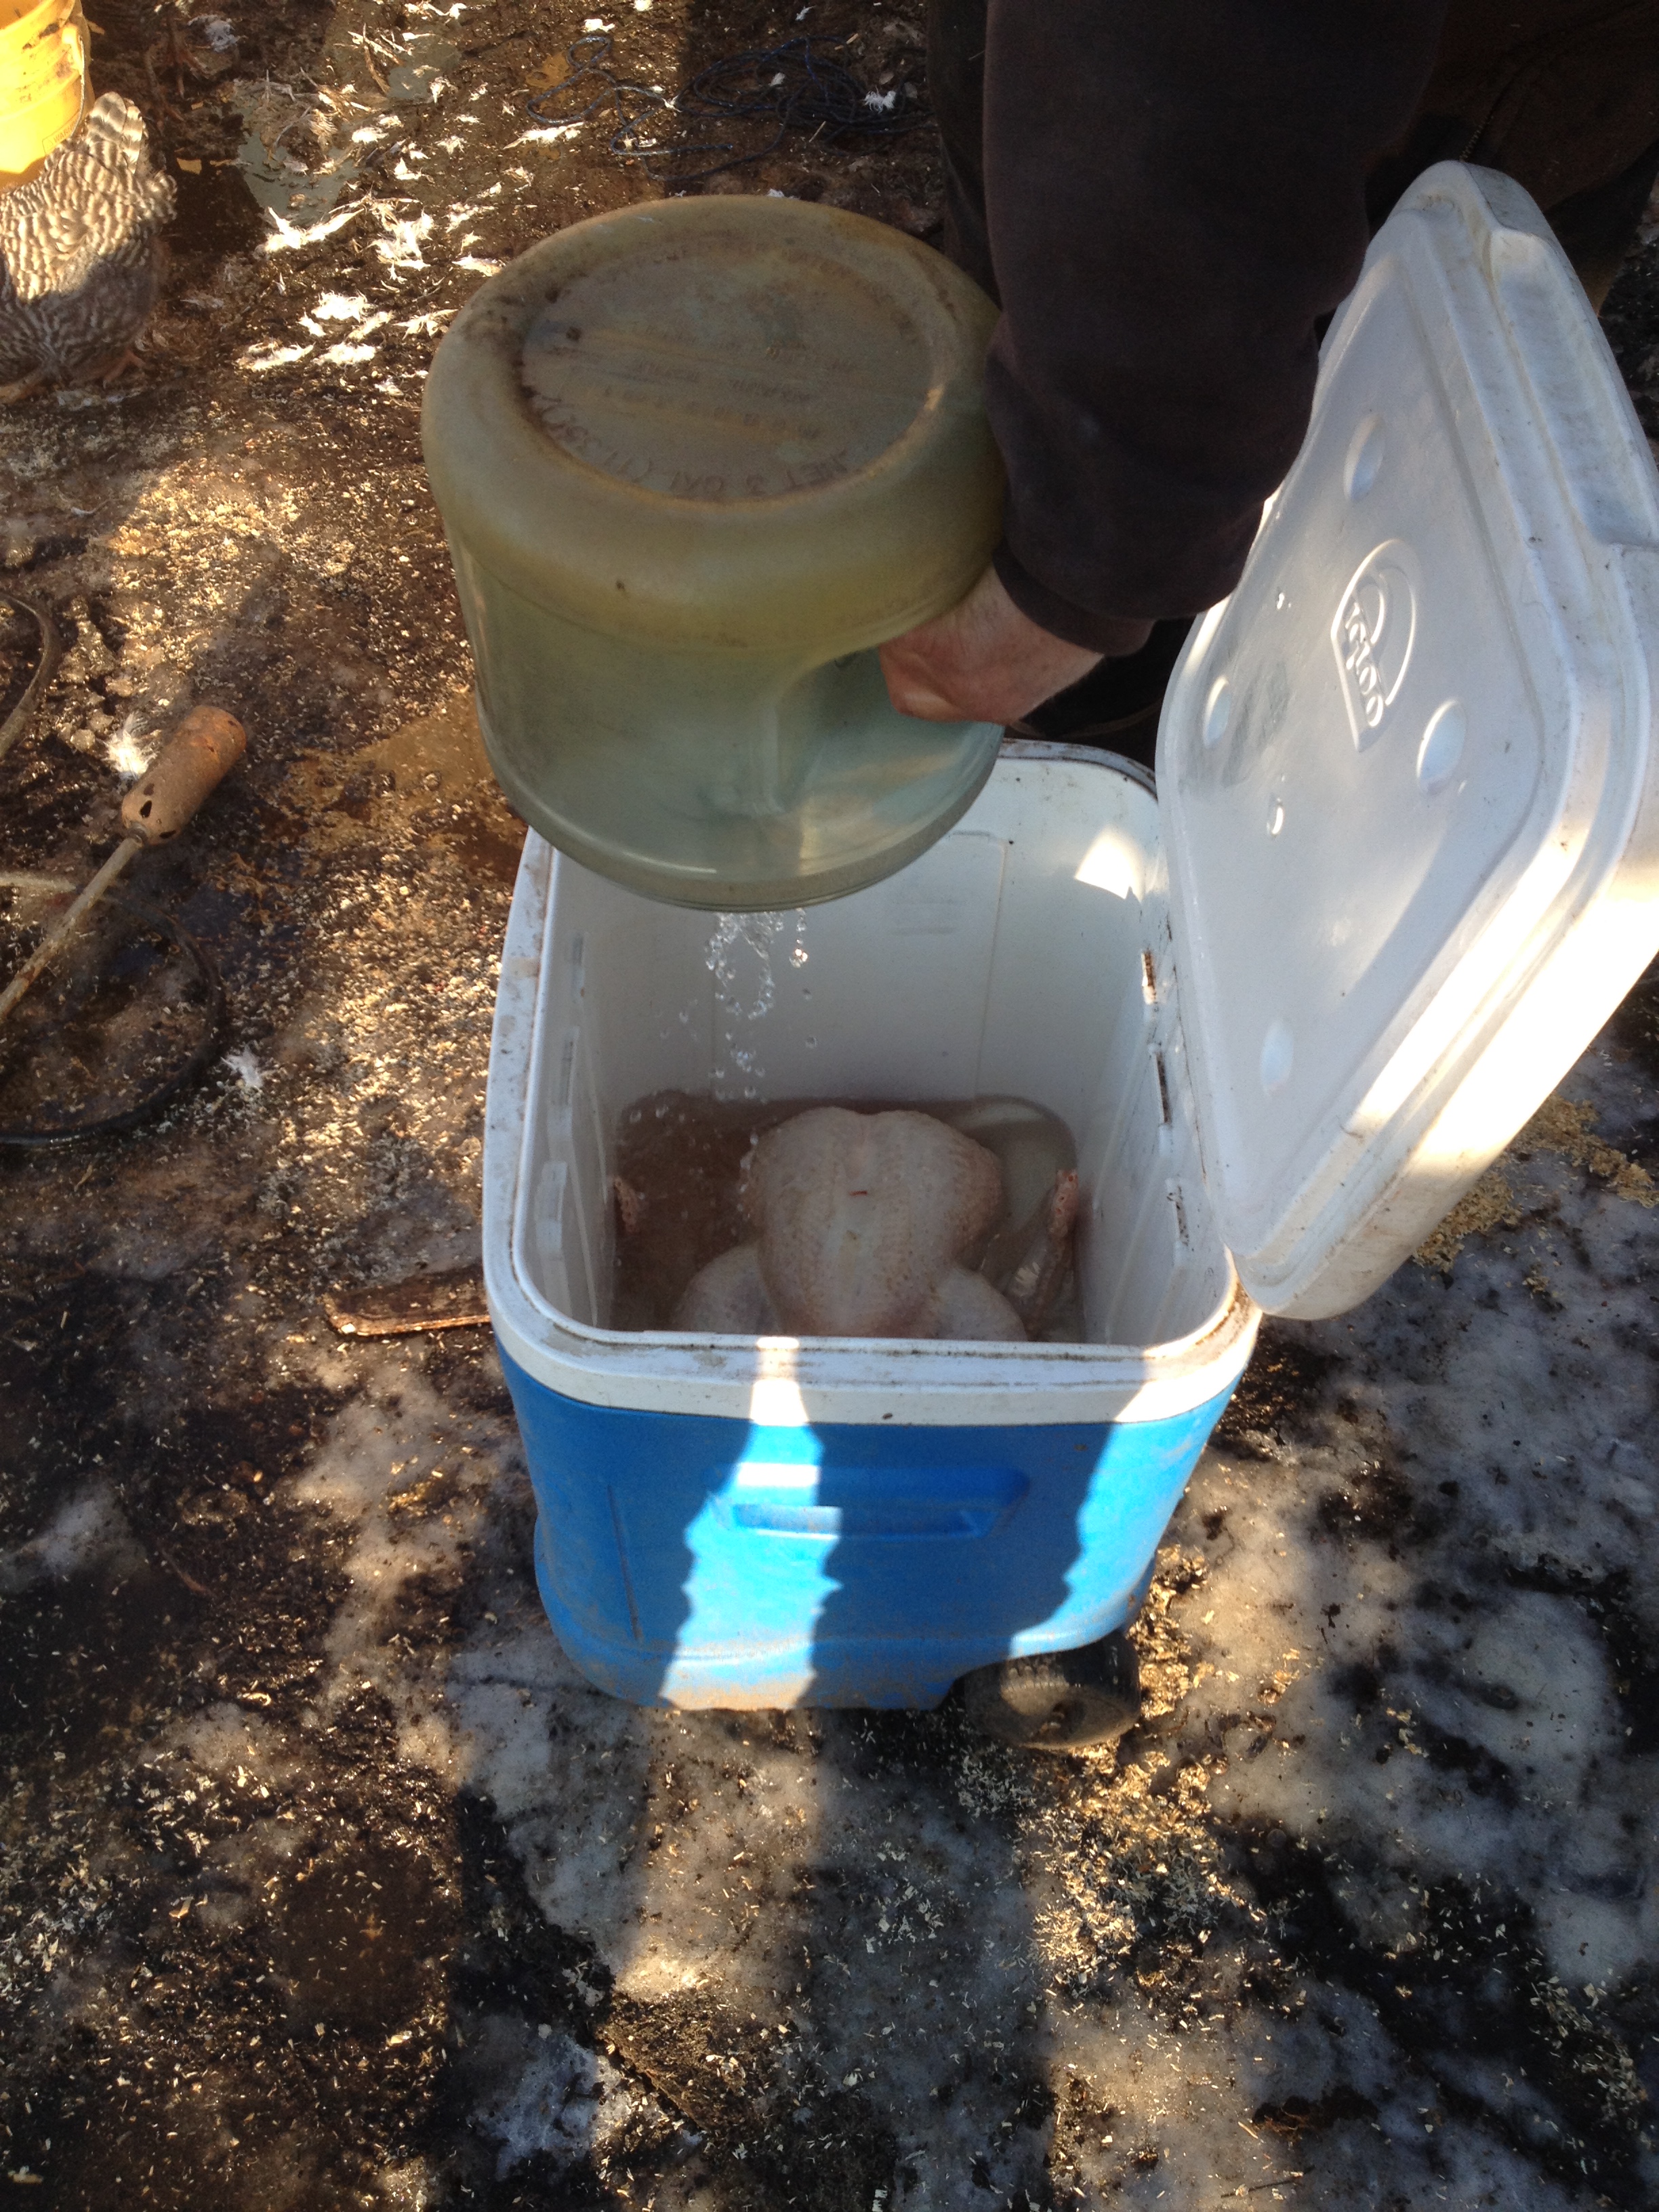
Place in cooler and fill with cold water. Add ice if needed to keep temp between 36-40 degrees. maintain this for 24 hours then empty water, rinse bird and repeat. Do this for 48 hours before freezing or cooking 72 hours is even better and your bird will be moist and tender. Note***** DO not skip on the rinsing of the bird every 24 hours or changing water-this is important to maintain an enviroment were bacteria doesn’t grow. Do not permit temp to rise over 40 degrees!!!!
Keep gizzard, livers and hearts in separate water baths under refrigeration until time to either cook or freeze.
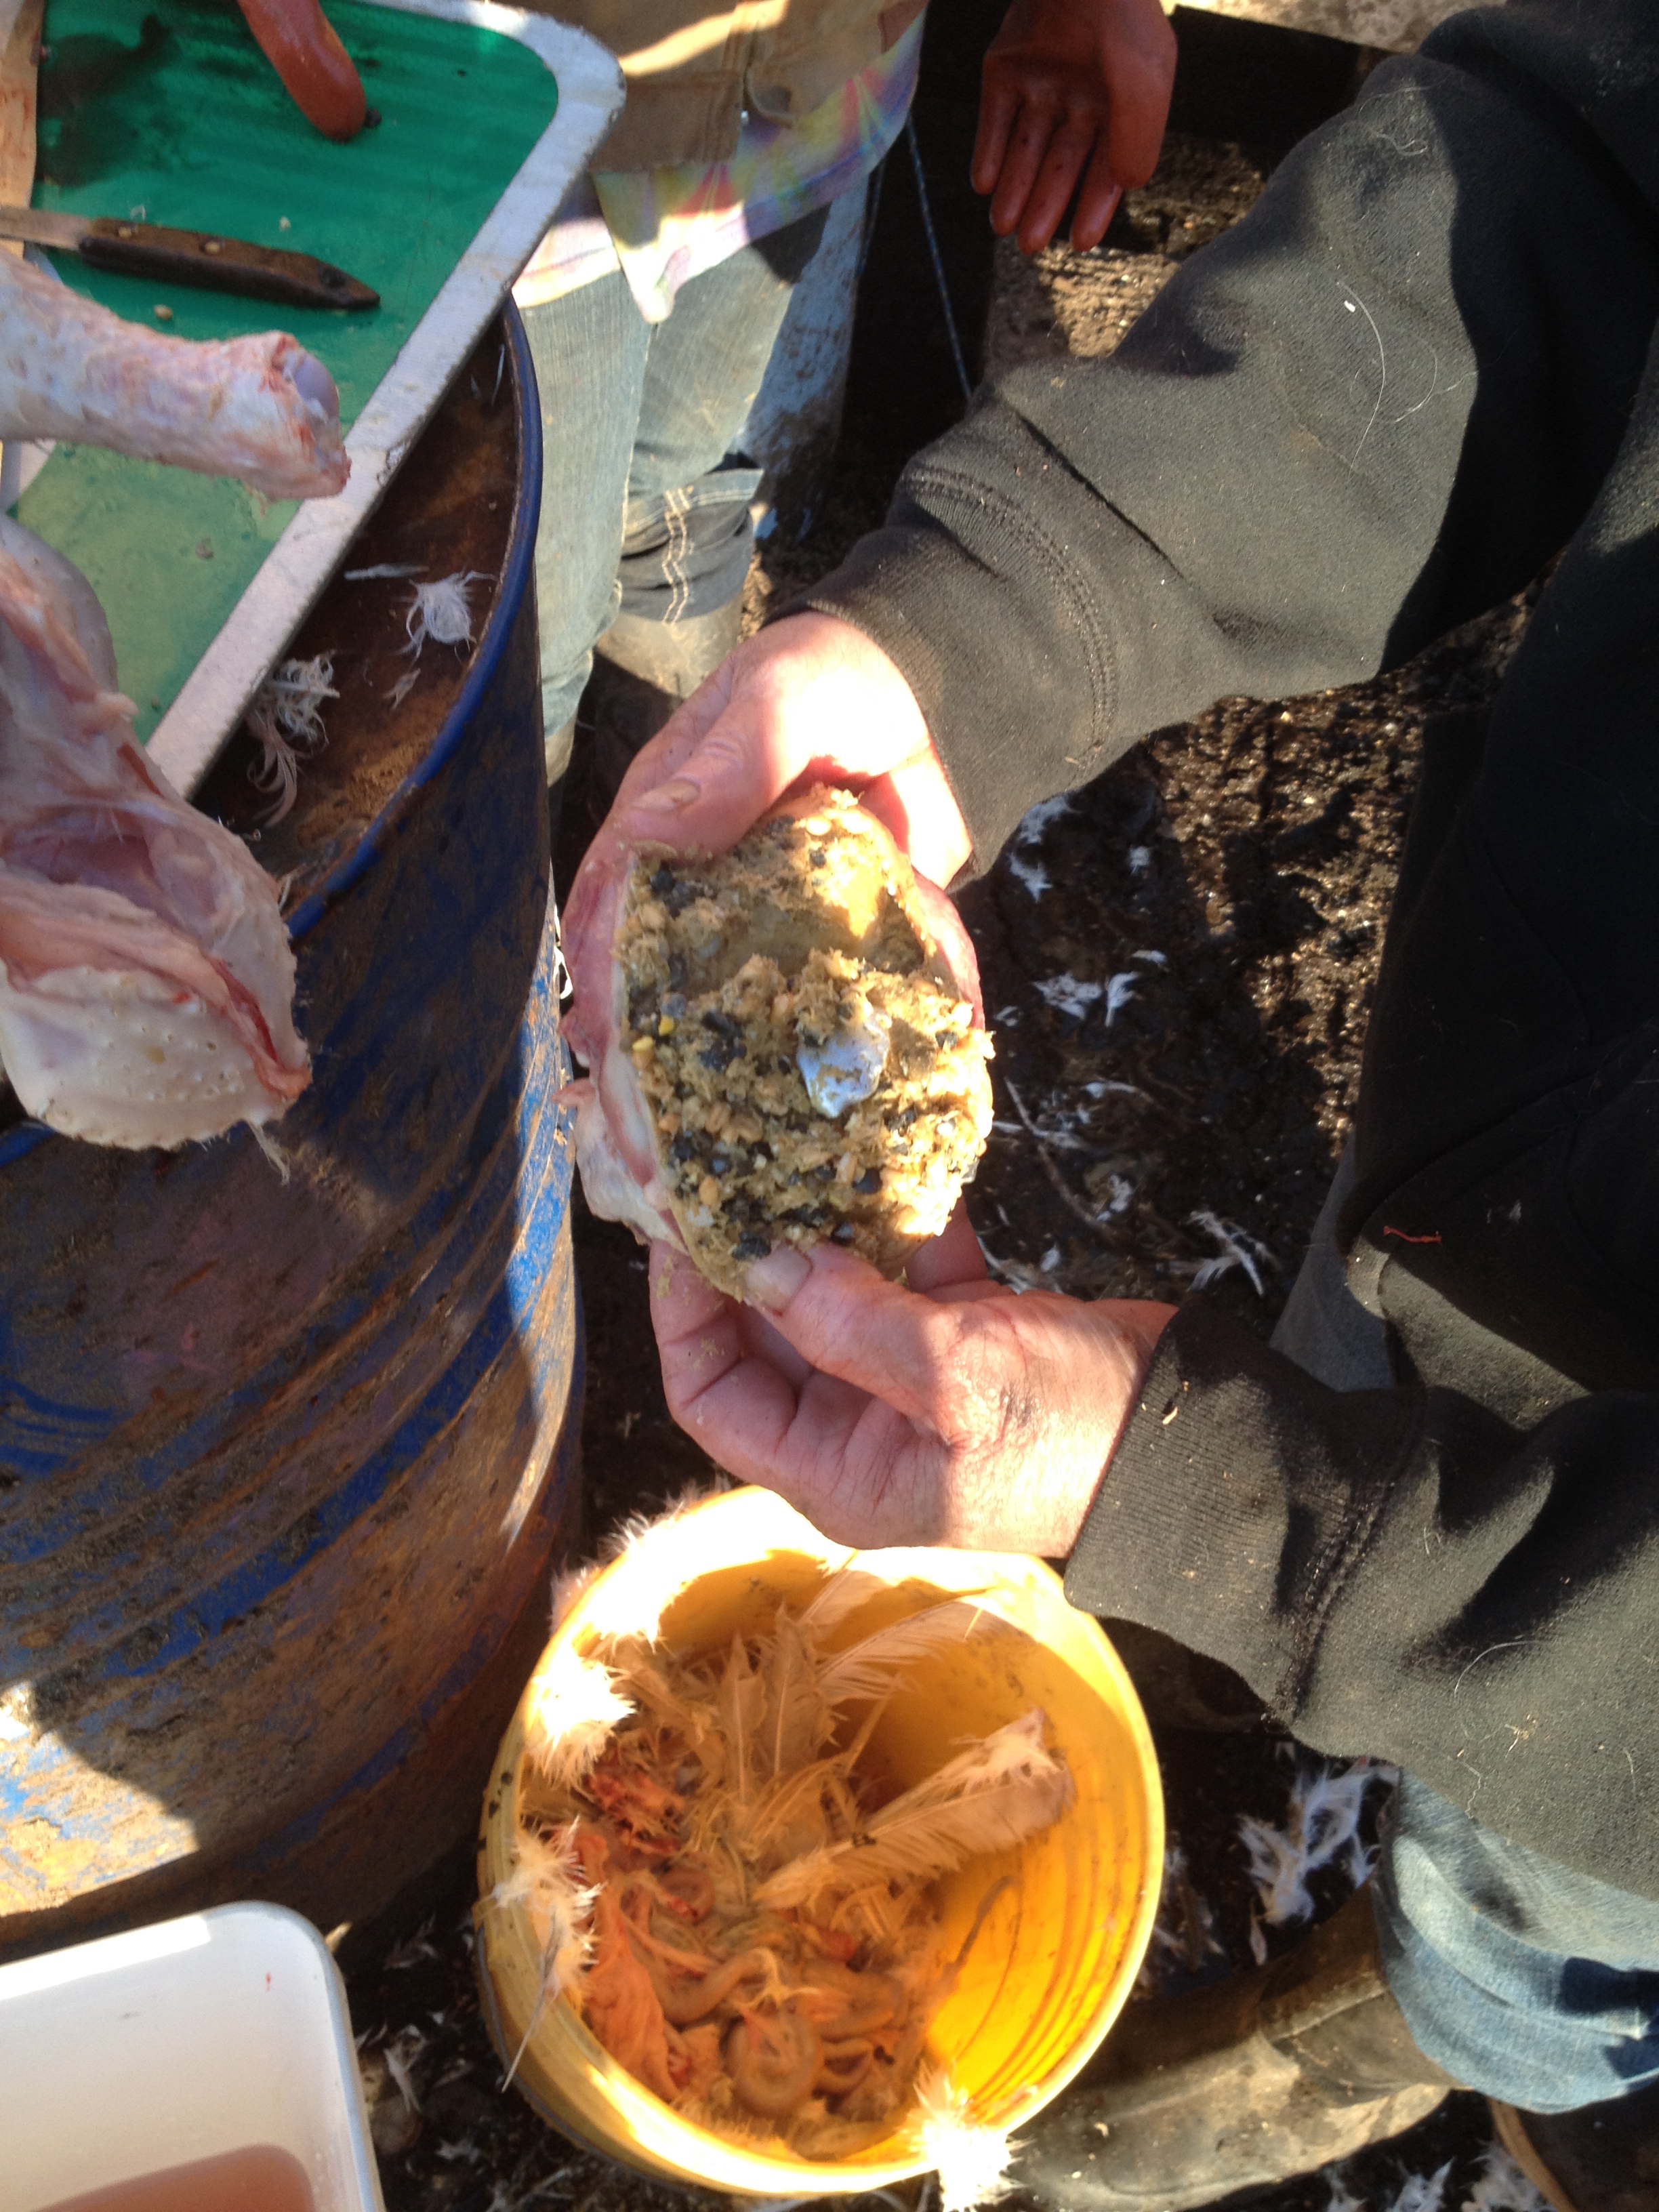
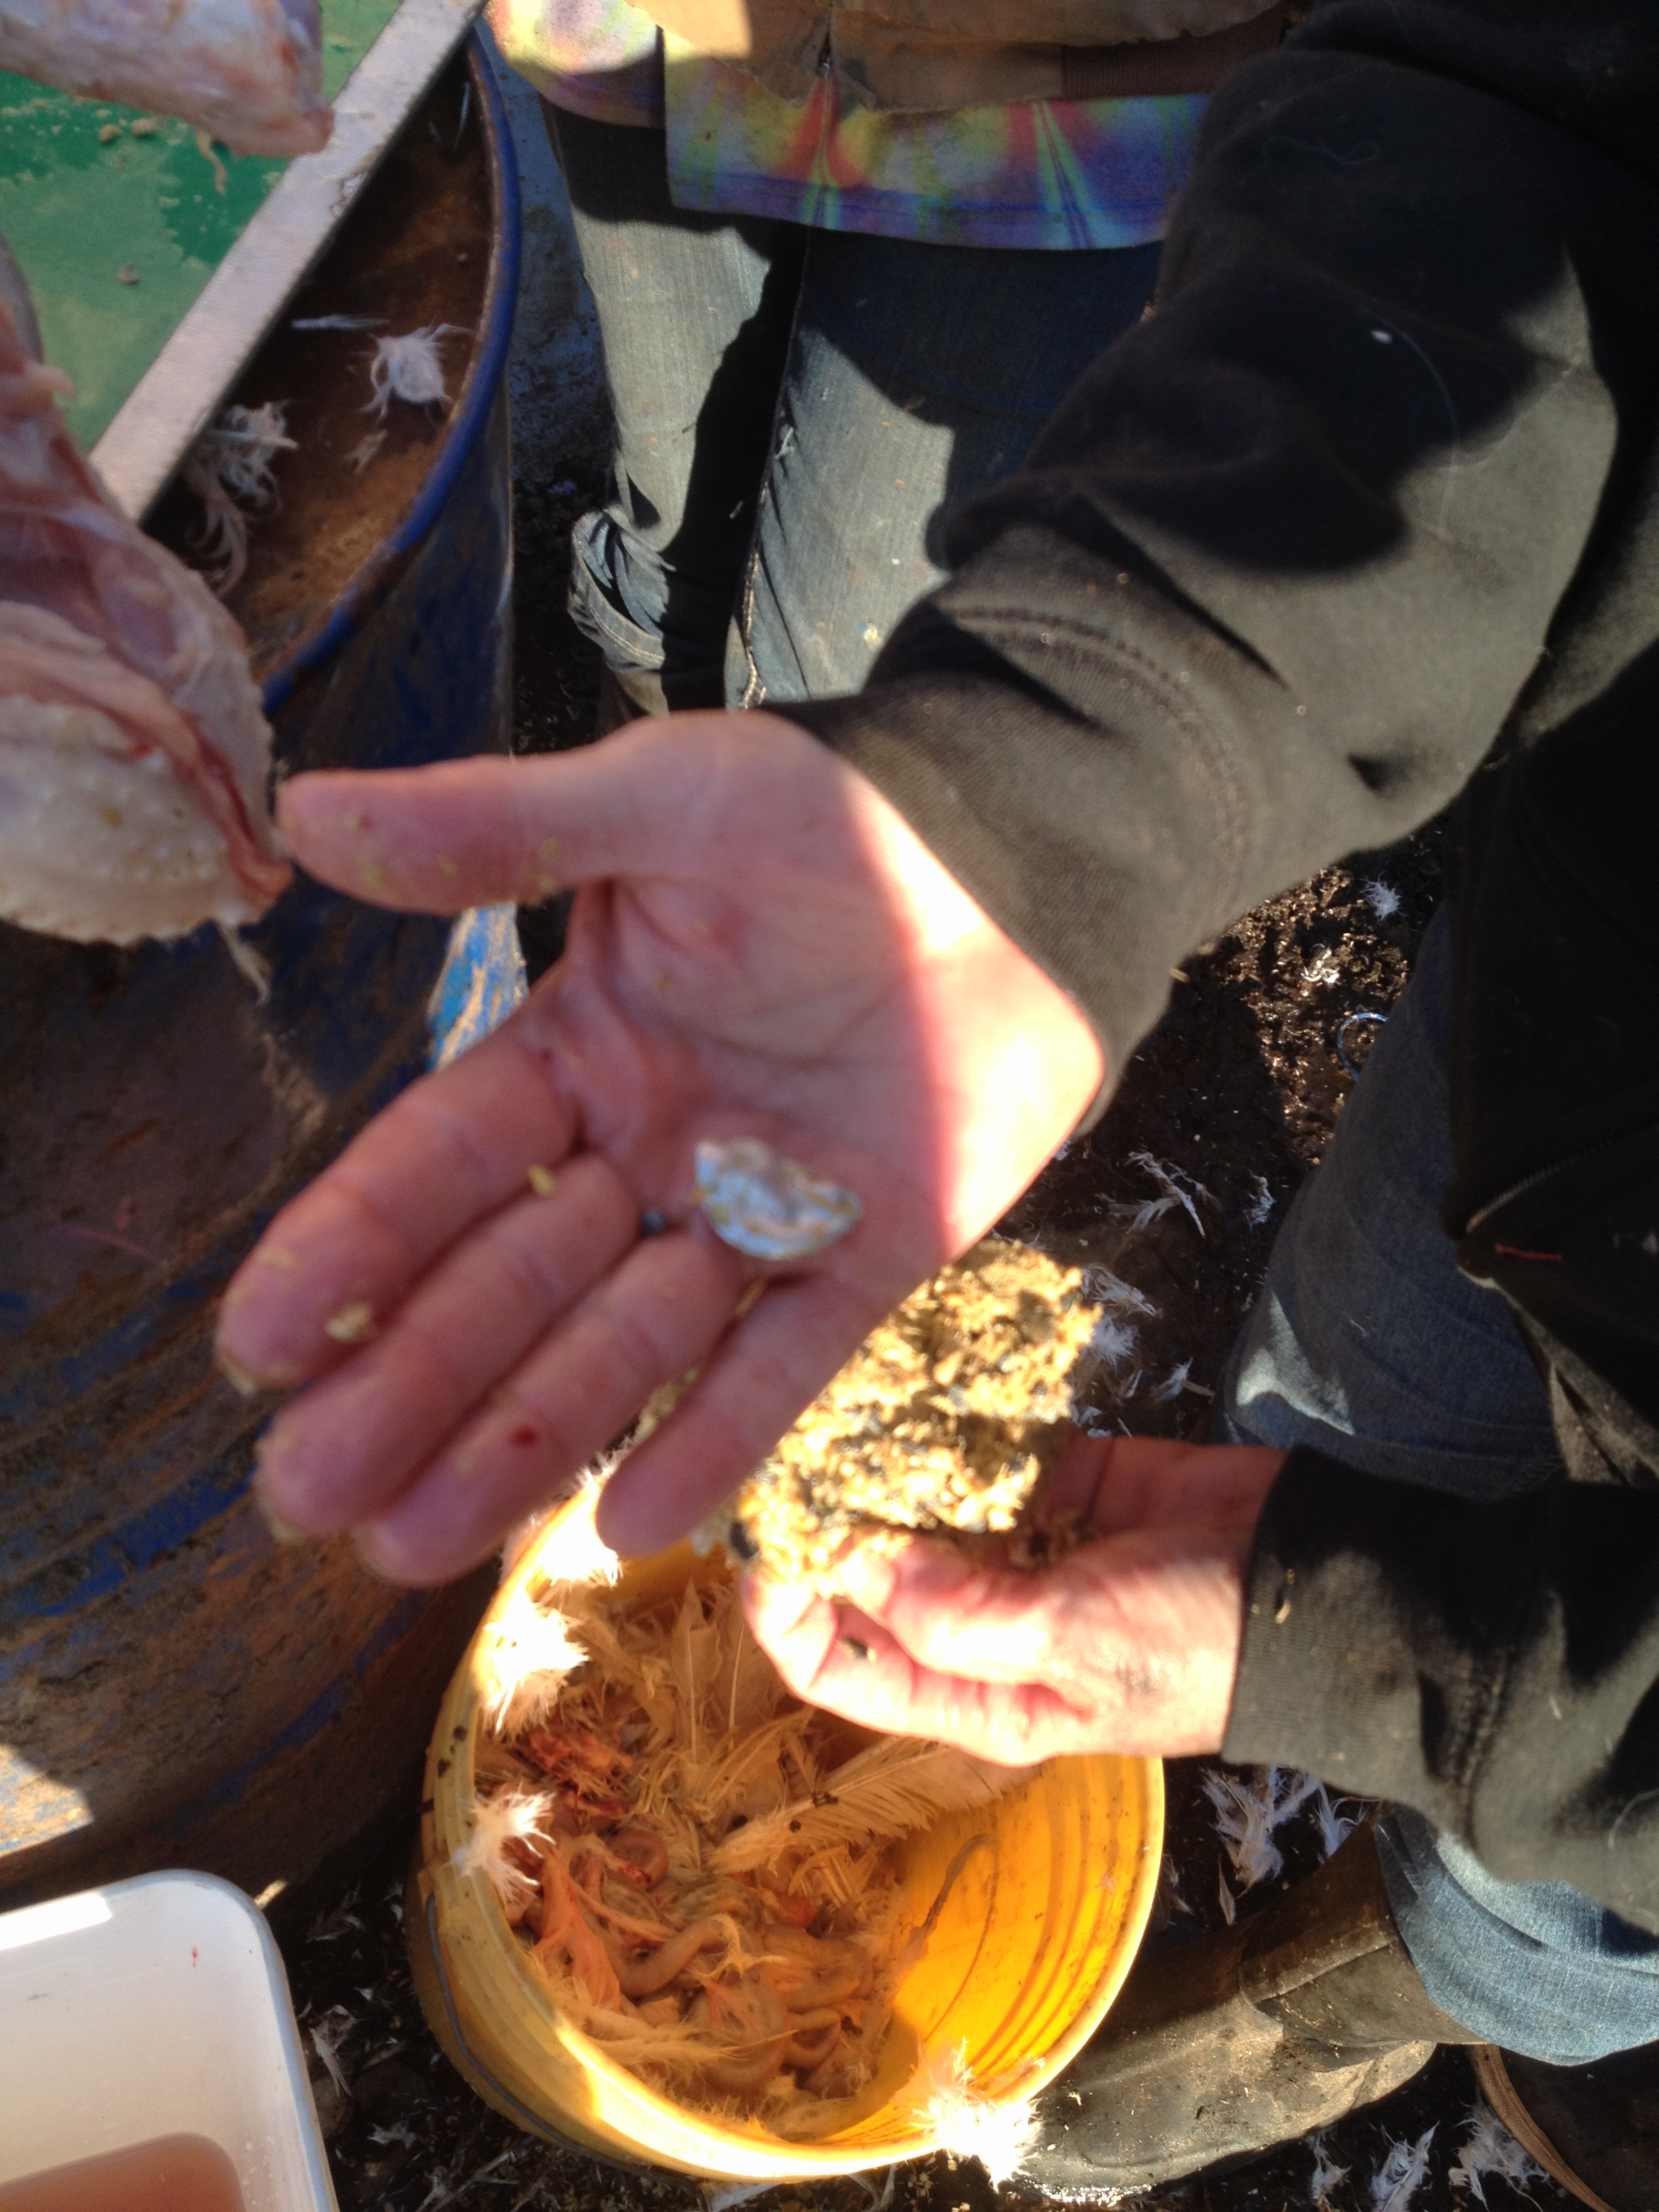
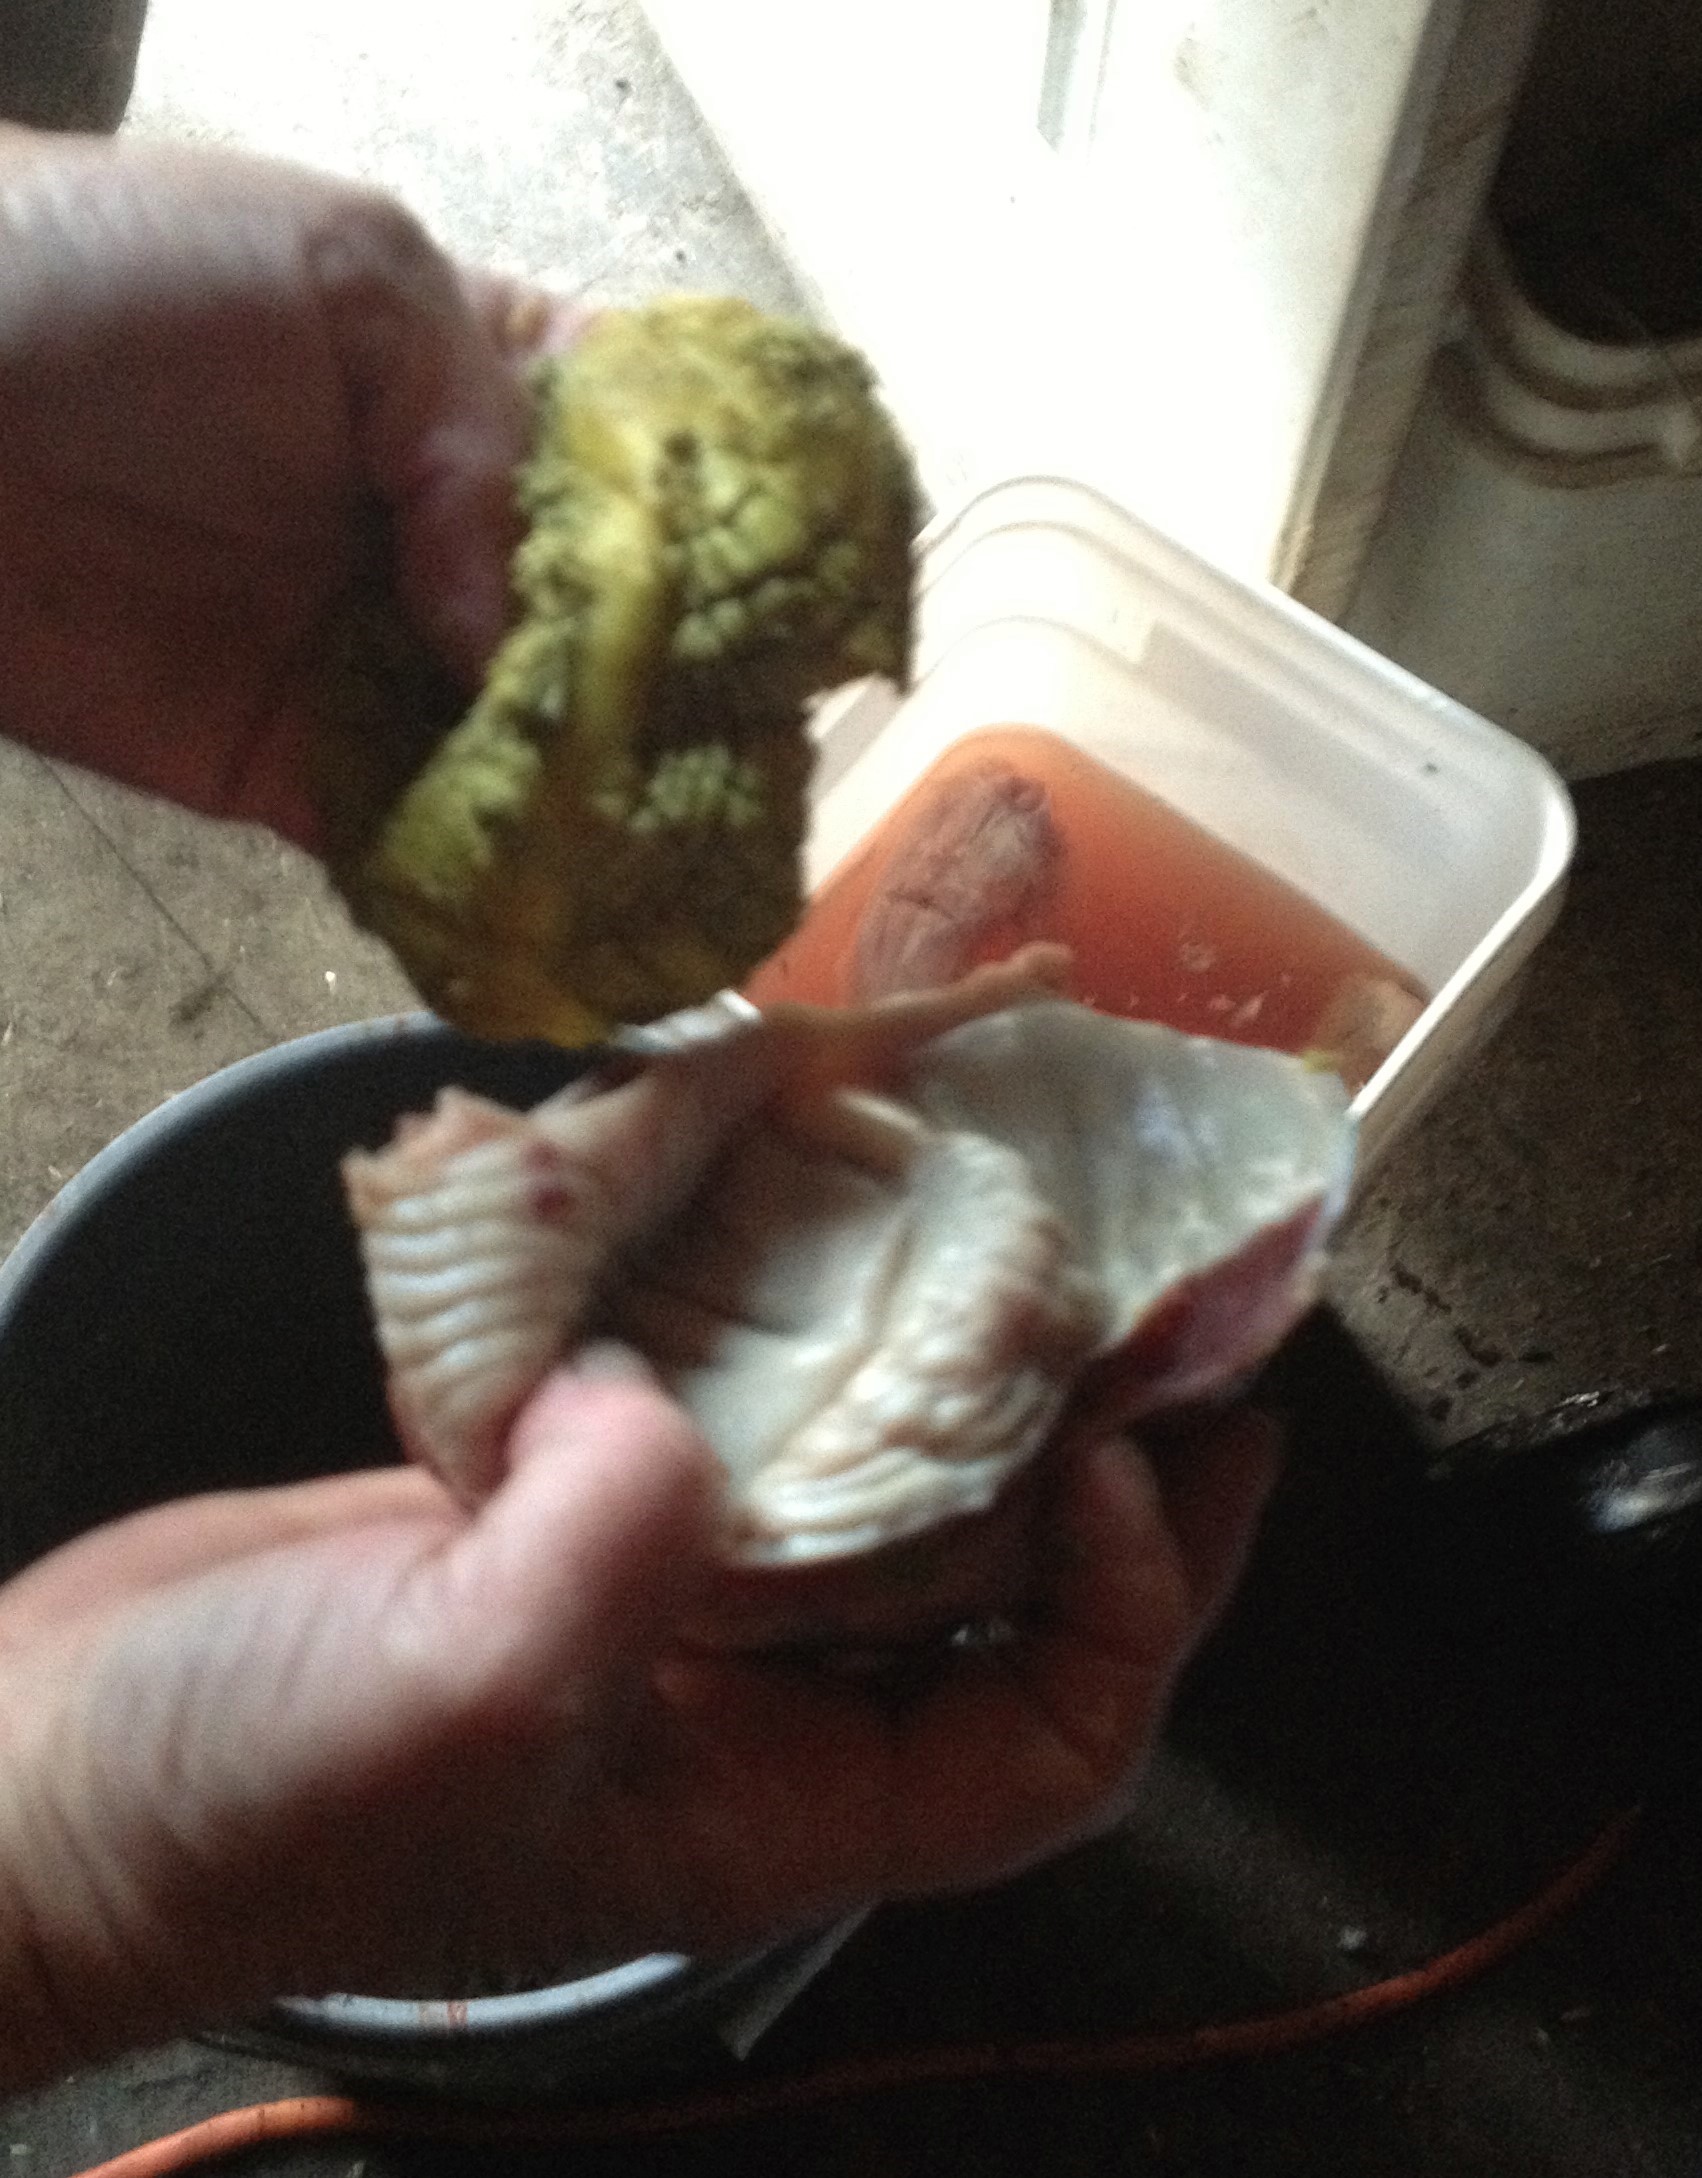
If keeping the gizzard you need to clean it. Lay it in your hand and cut it open ( if you look at it you will see a white area that gets narrow in the middle-cut it there and turn inside out. It should be full of rocks or grit. this is how birds process food. Empty the grit out and notice there is a rubbery lining. peel that lining out and discard. in th pics here you will see bits of melted aluminum the turkey ate digging through ash pies. I look at every gizzard-who knows someday we may find a gold nugget!
If freezing your bird place neck, gizzard, heart and liver inside a plastic bag. Insert that into body cavity for easy removal during thawing. Finding bags large enough for a 20+ pound turkey is almost impossible ( cooking bags will work) I use trash can liners and double bag, expel as much air as possible to prevent freezer burn.
With a little practice you will find that you can process birds in a matter of minutes. The prep and cleanup takes longer than the processing. We do literally a hundred plus chickens and turkeys a year and hope that by the grace of God we are blessed enough to do even more next year. Knowing where and how your meats are raised and processed is important in todays world. Our animals lead a fulfilling happy life from the day they are born until the day they become meat on our table or someone elses. Free to roam and not be caged up 24/7.

Good for you guys! Great tutorial. If I ever butcher a turkey, this would be a really helpful guide. One of you must’ve had to be the designated camera person and keep a hand clean, haha.
Excellent “How To” Article and even complete with photos. You guys could definitely teach others as how to clean a turkey or a chicken and get it ready to freeze or cook it up for a tasty dinner. I imagine you guys are looking forward to cooking one of those turkeys for Thanksgiving. Yum yum, sure wish I could be there. And besides cleaning and getting it ready for the freezer, the kiddos get a anatomy lesson. Seeing the various parts of an animal, would definitely make it easier to remember the parts of a human body. That is so very cool. I love all your blogs, I always learn something from them. Take care.
This is a great informative read. We process our own poultry, swine and beef on our small farm. I think it is a great way to stay connected to our food and where it comes from.
Thank you and yes we all need to know where our food comes from.