
Raising rabbits was a big part of our self sufficient lives before we made the move to offgrid and it is now even more important. We use the rabbit meat ourselves, barter live and butchered rabbits for things we need or cash and the pelts I have discovered make great mittens in the winter. In this entry I will show you how to can the meat for future use, tell you about the versatility of the meat and share a link on how you can begin tanning your hides too.
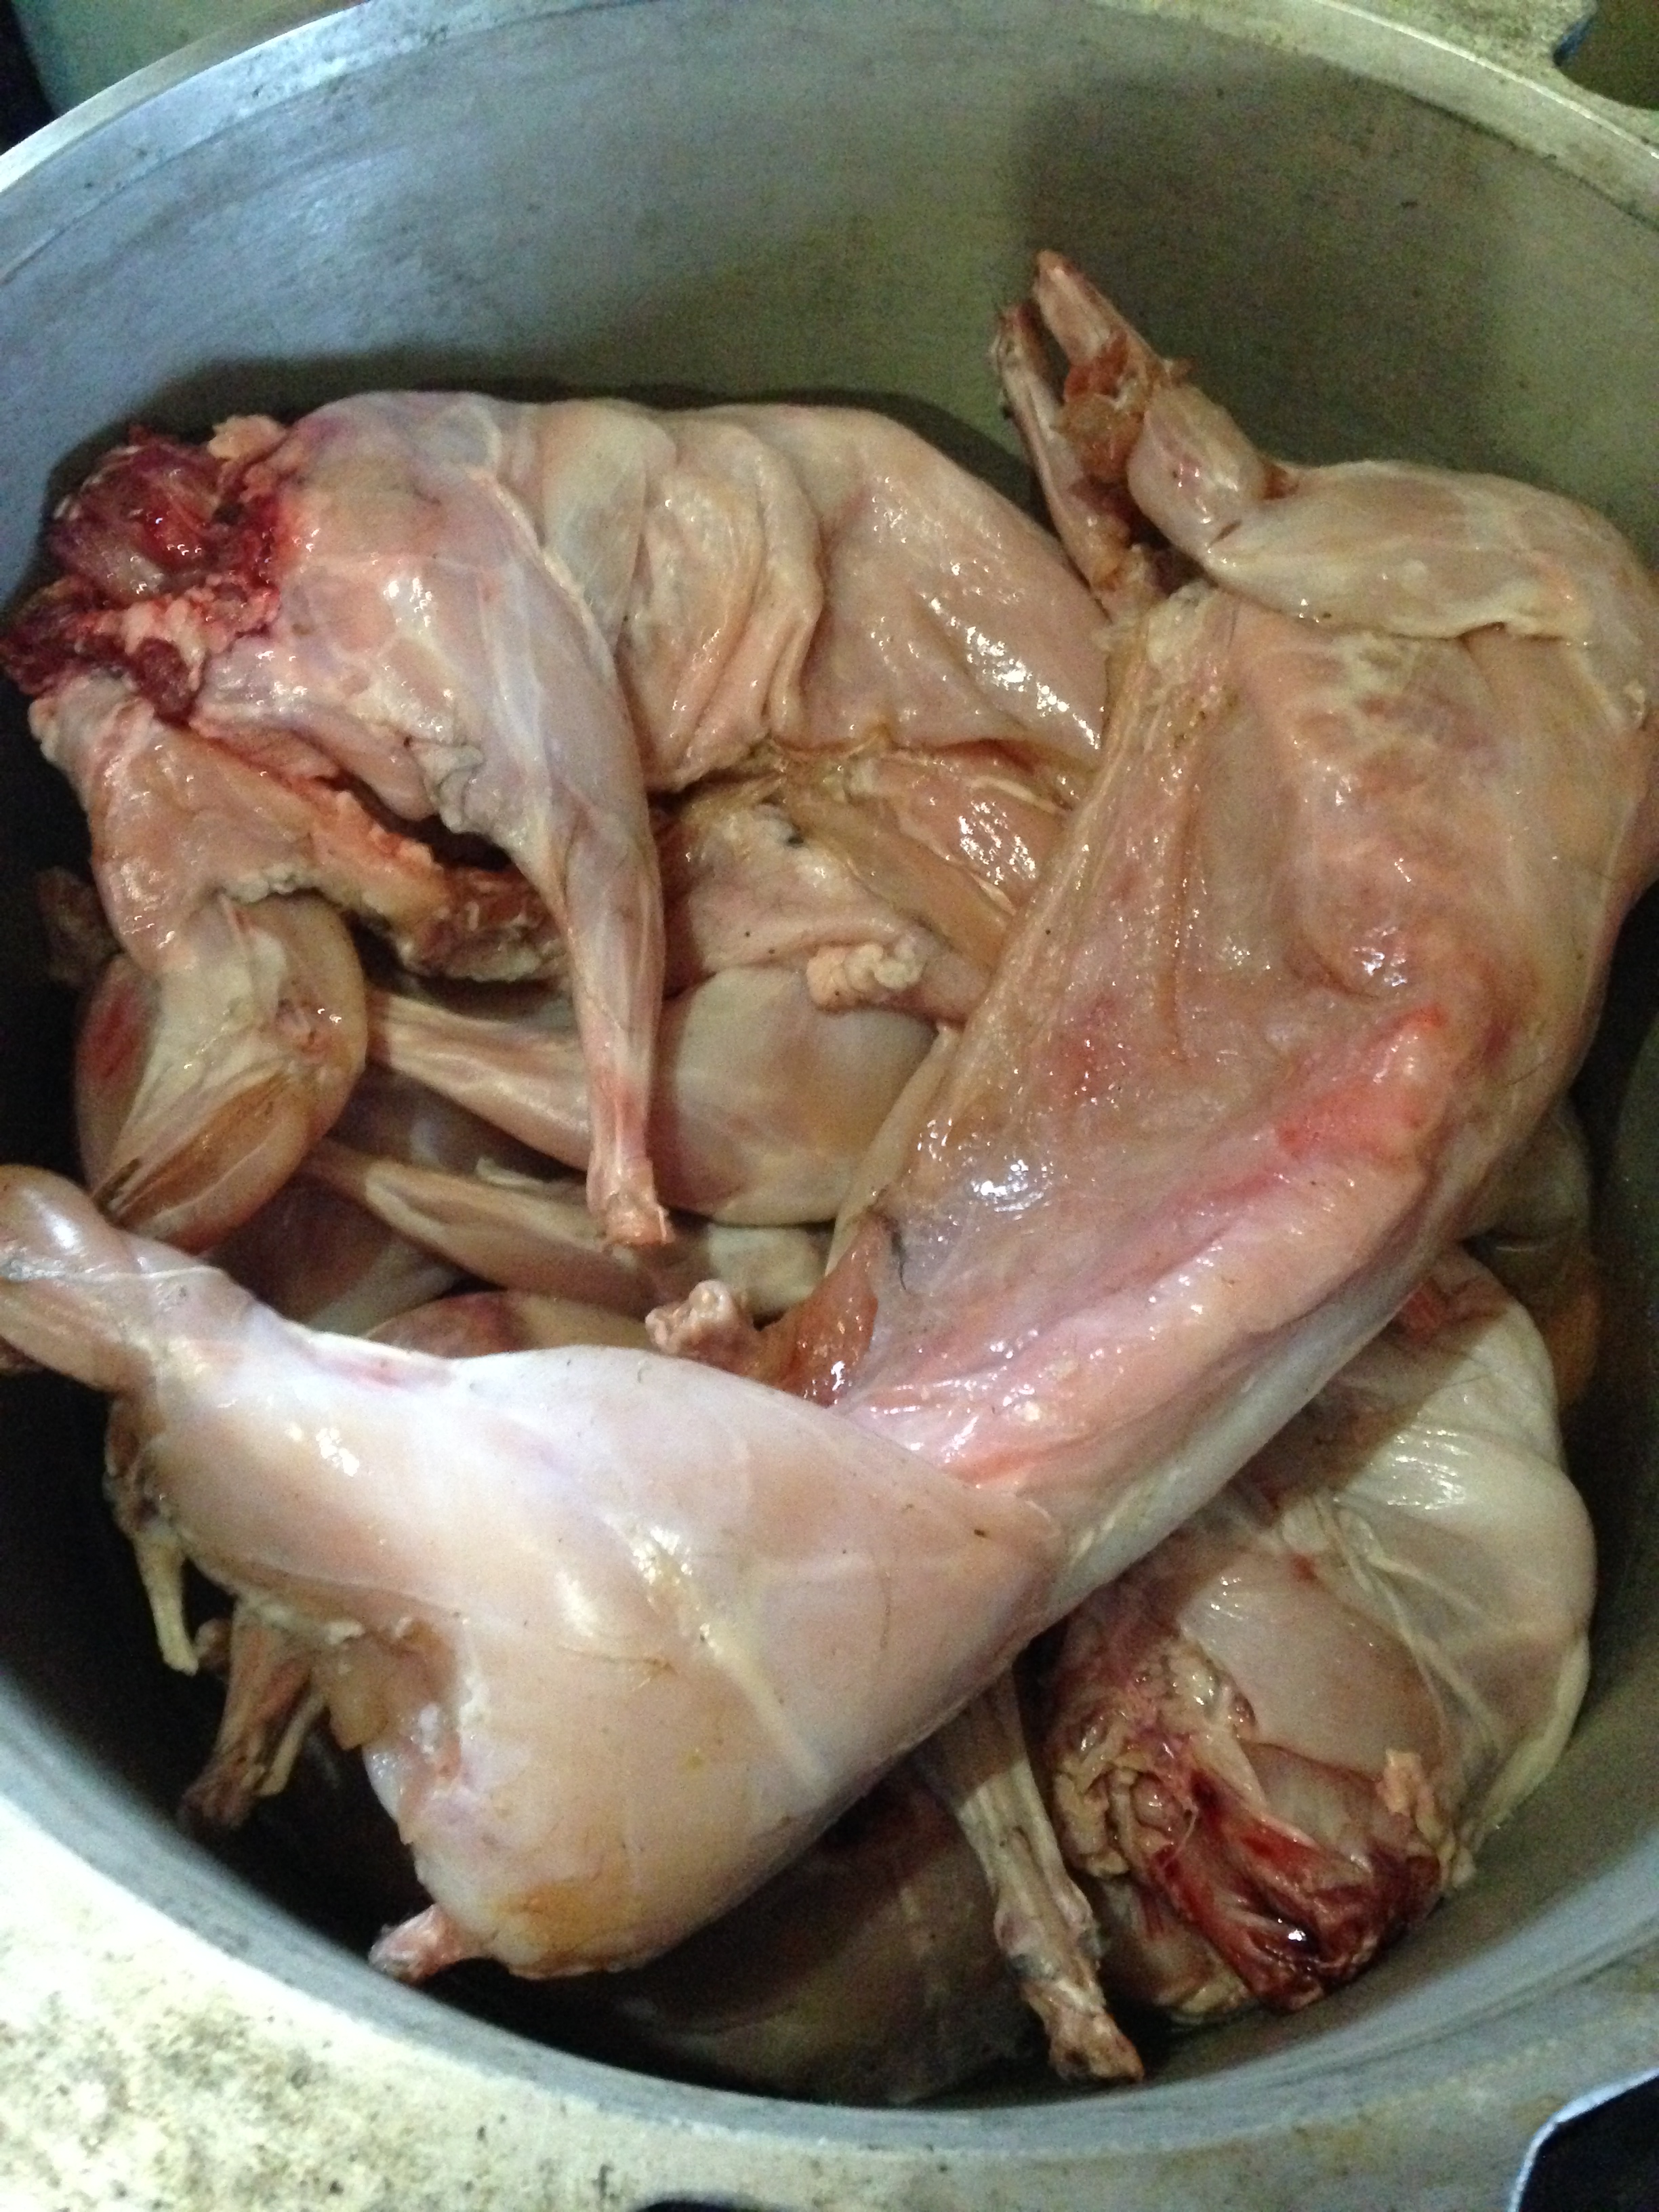
So today I butchered 11 rabbits, I put them in a large pressure cooker, added a few cups of water and cooked for 45 minutes. You can raw pack the meat to can but I have discovered the flavor of both meat and stock is enhanced by cooking it with the bones.
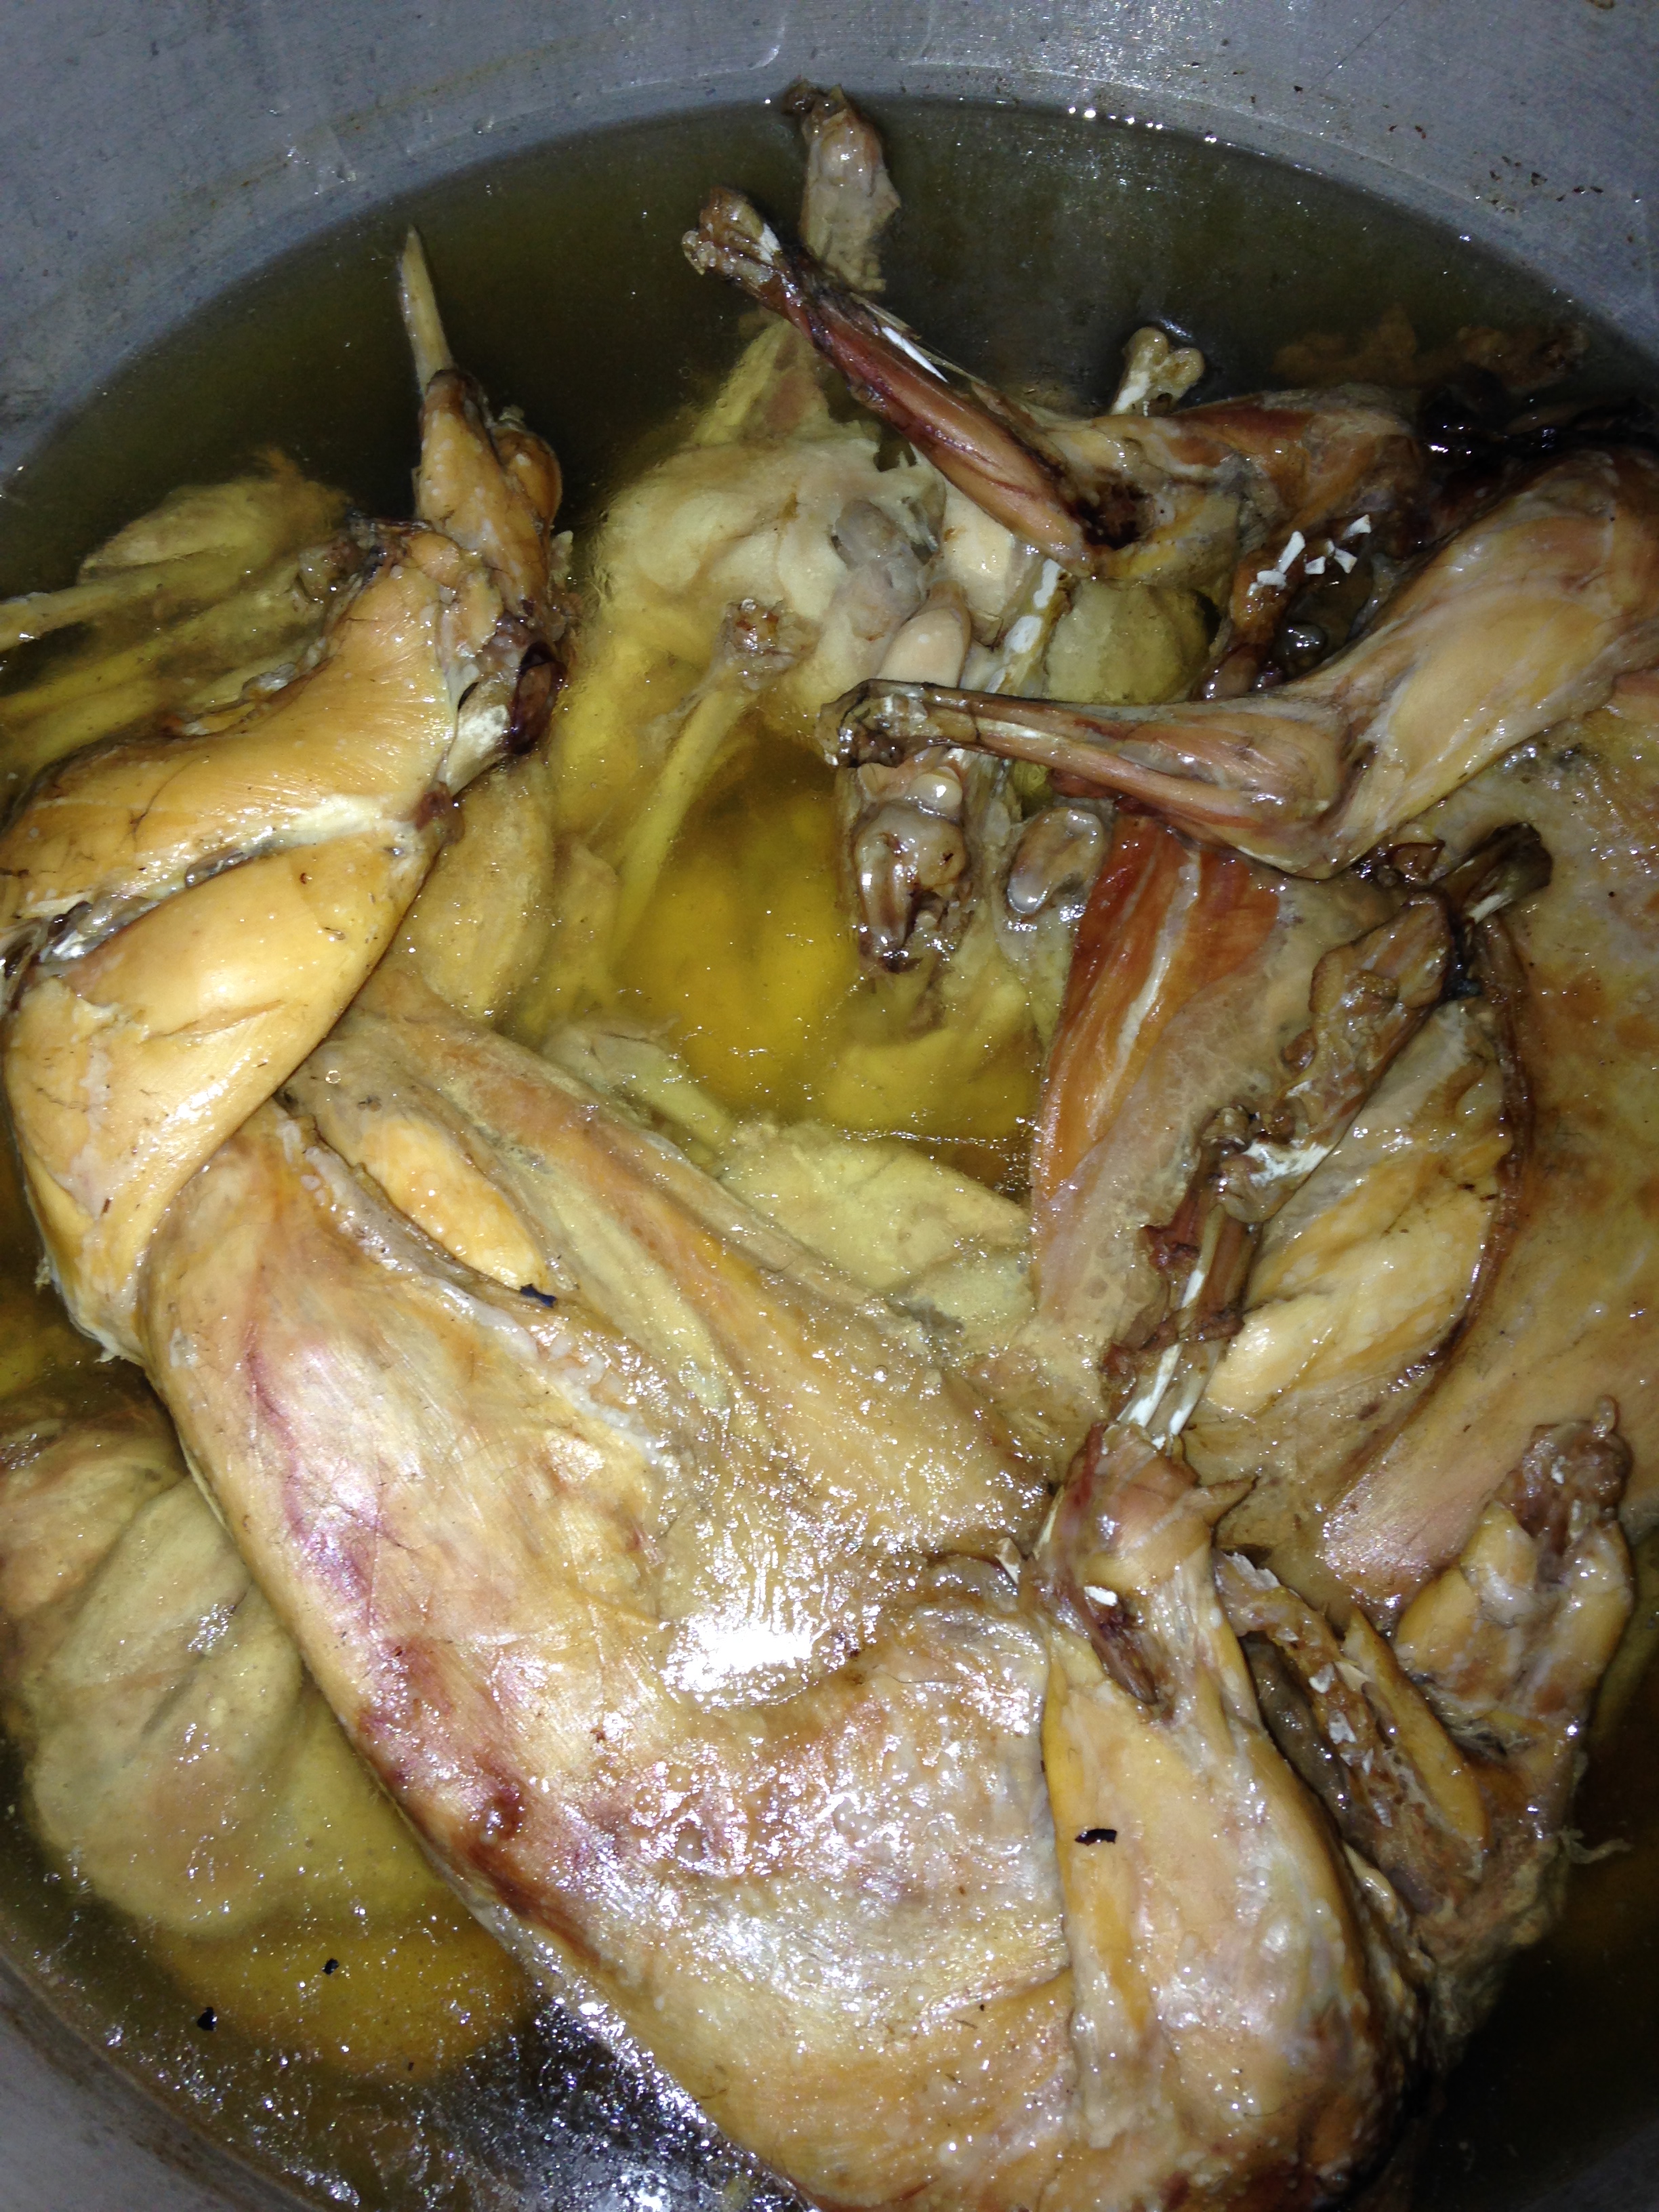
Once the rabbit is cooked cool and strain off broth, return broth to stove top to cook and condense even more while you are picking through the meat to remove bones (I save these bones and run through my meat grinder to feed my dog, chickens and pigs) nothing is wasted!
I use quart jars for my large family but for 2-4 people pints would be sufficient as the amount of meat per jar is condensed.
To figure out the number of jars you will need just figure on 1.5 rabbits per quart or 1.5 will fill 2 pints-this of course will depend on the size of rabbits and how tightly you pack them.
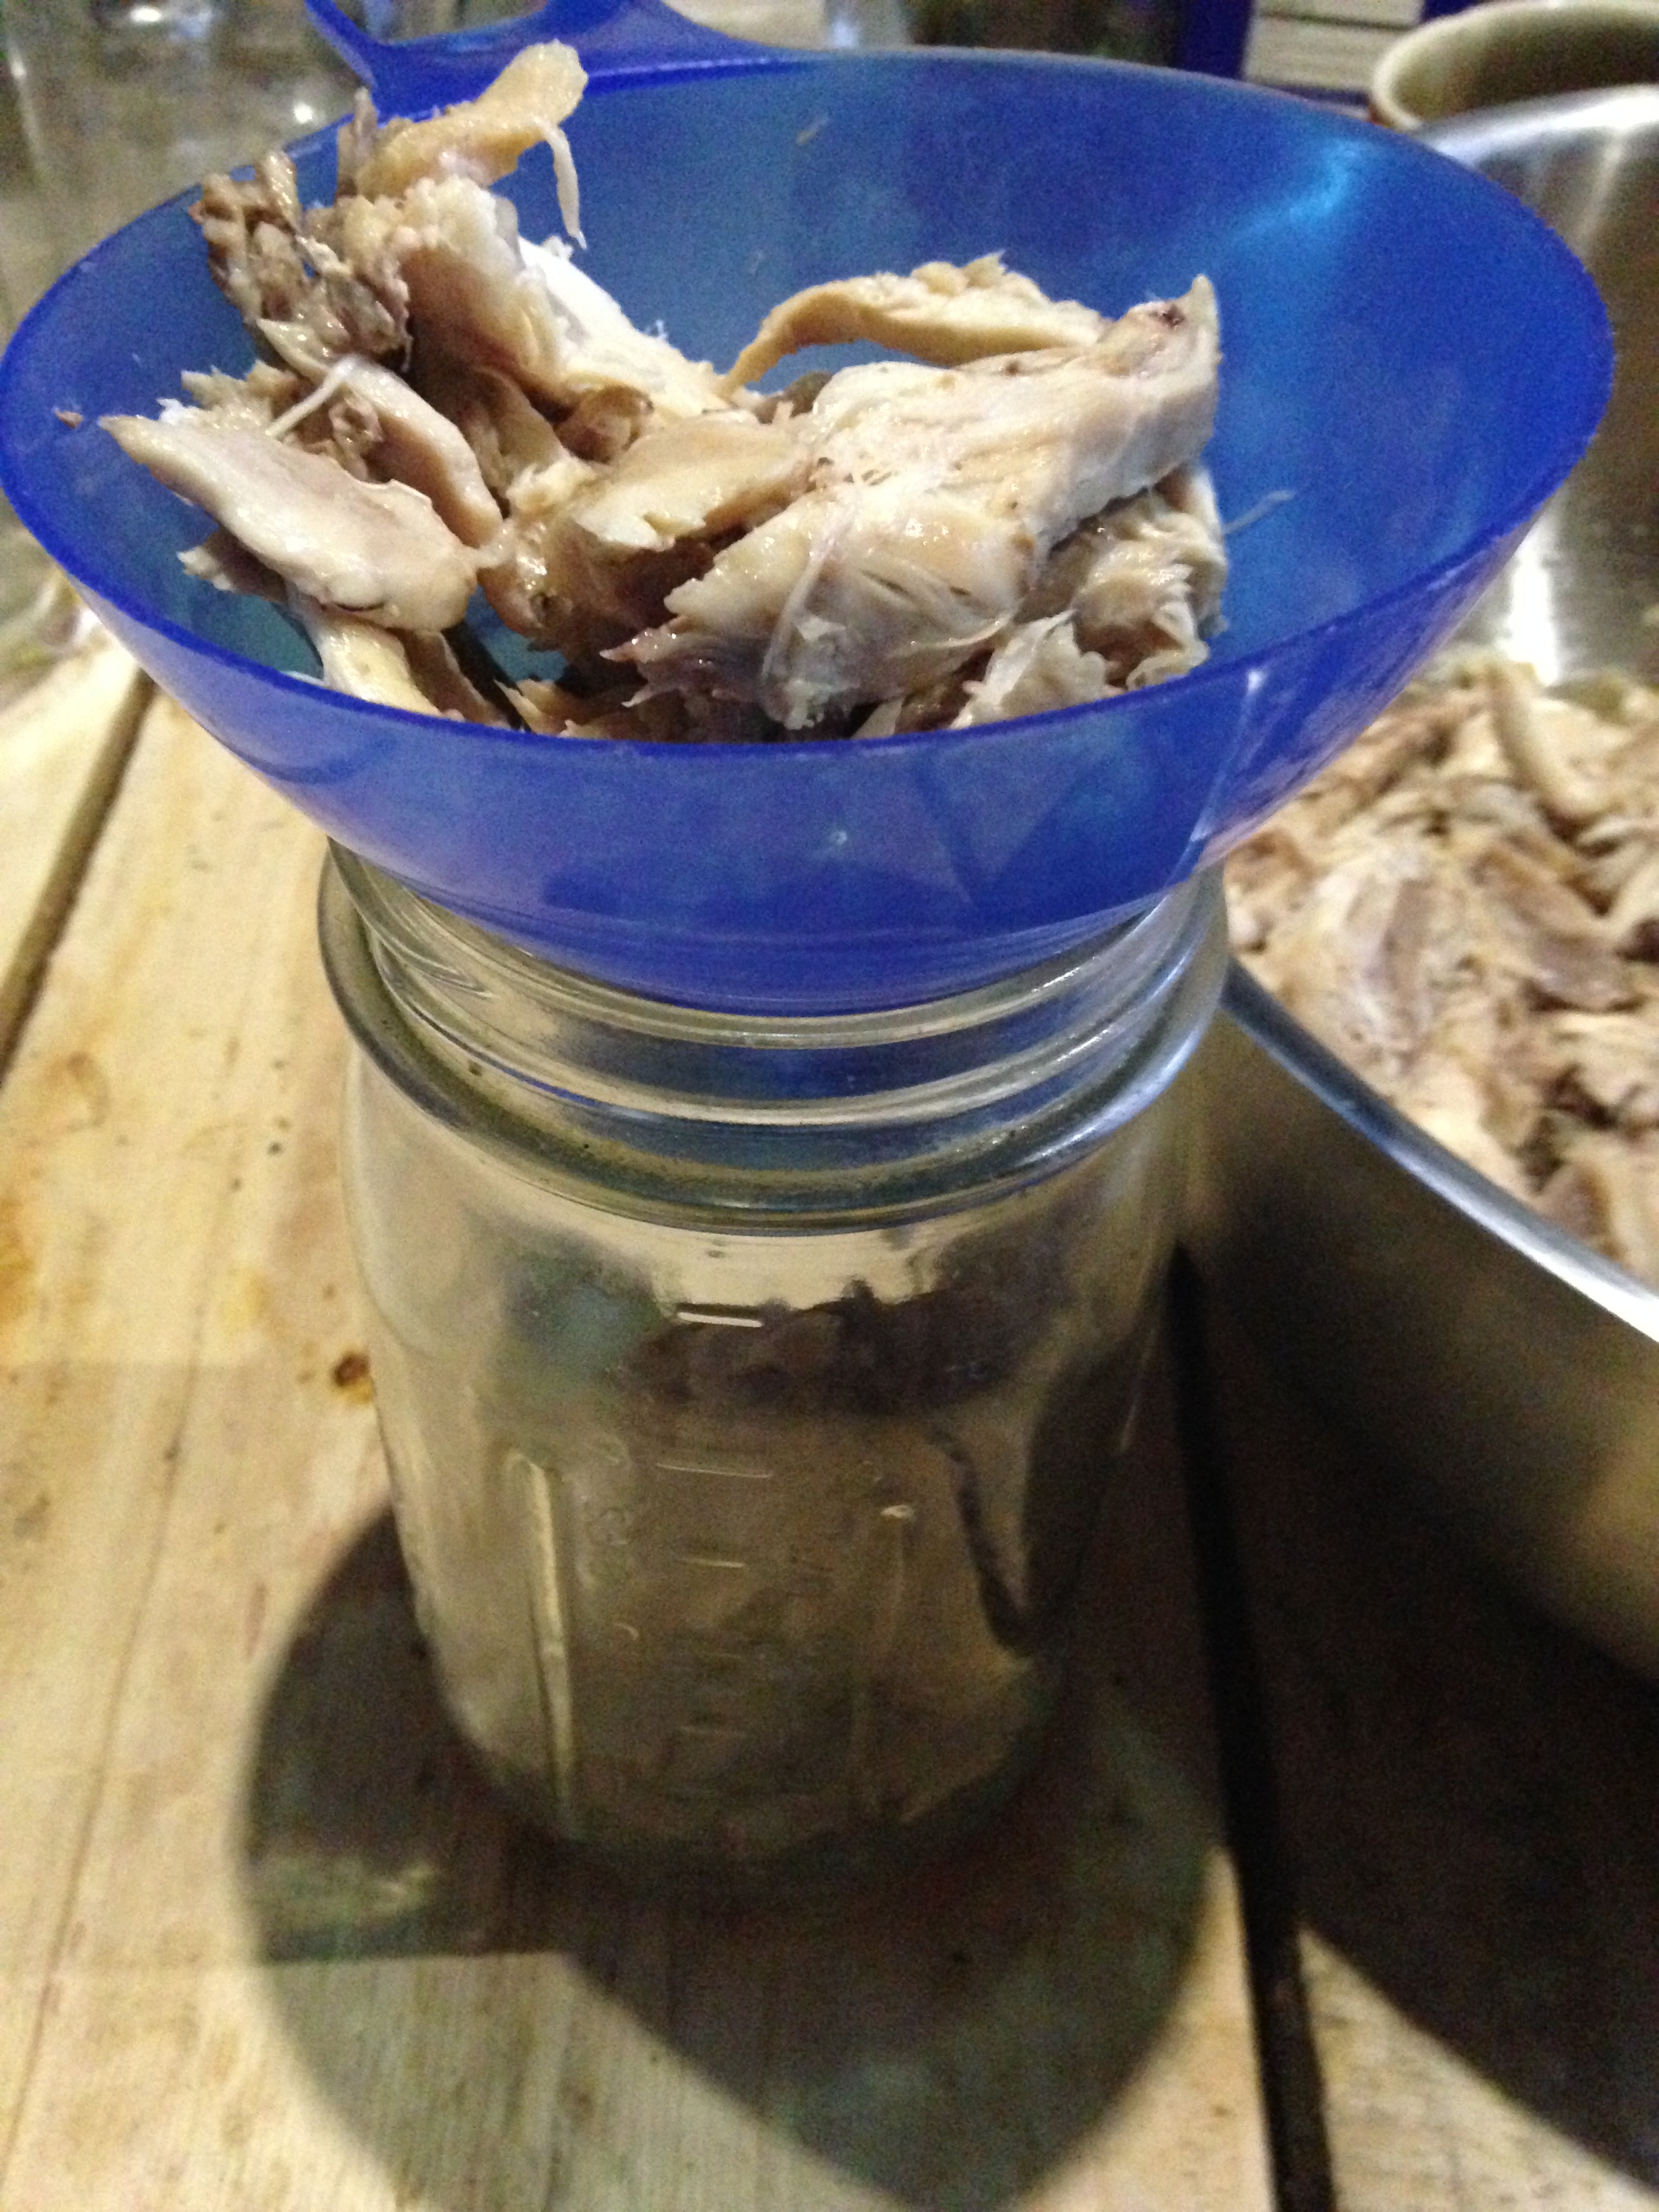
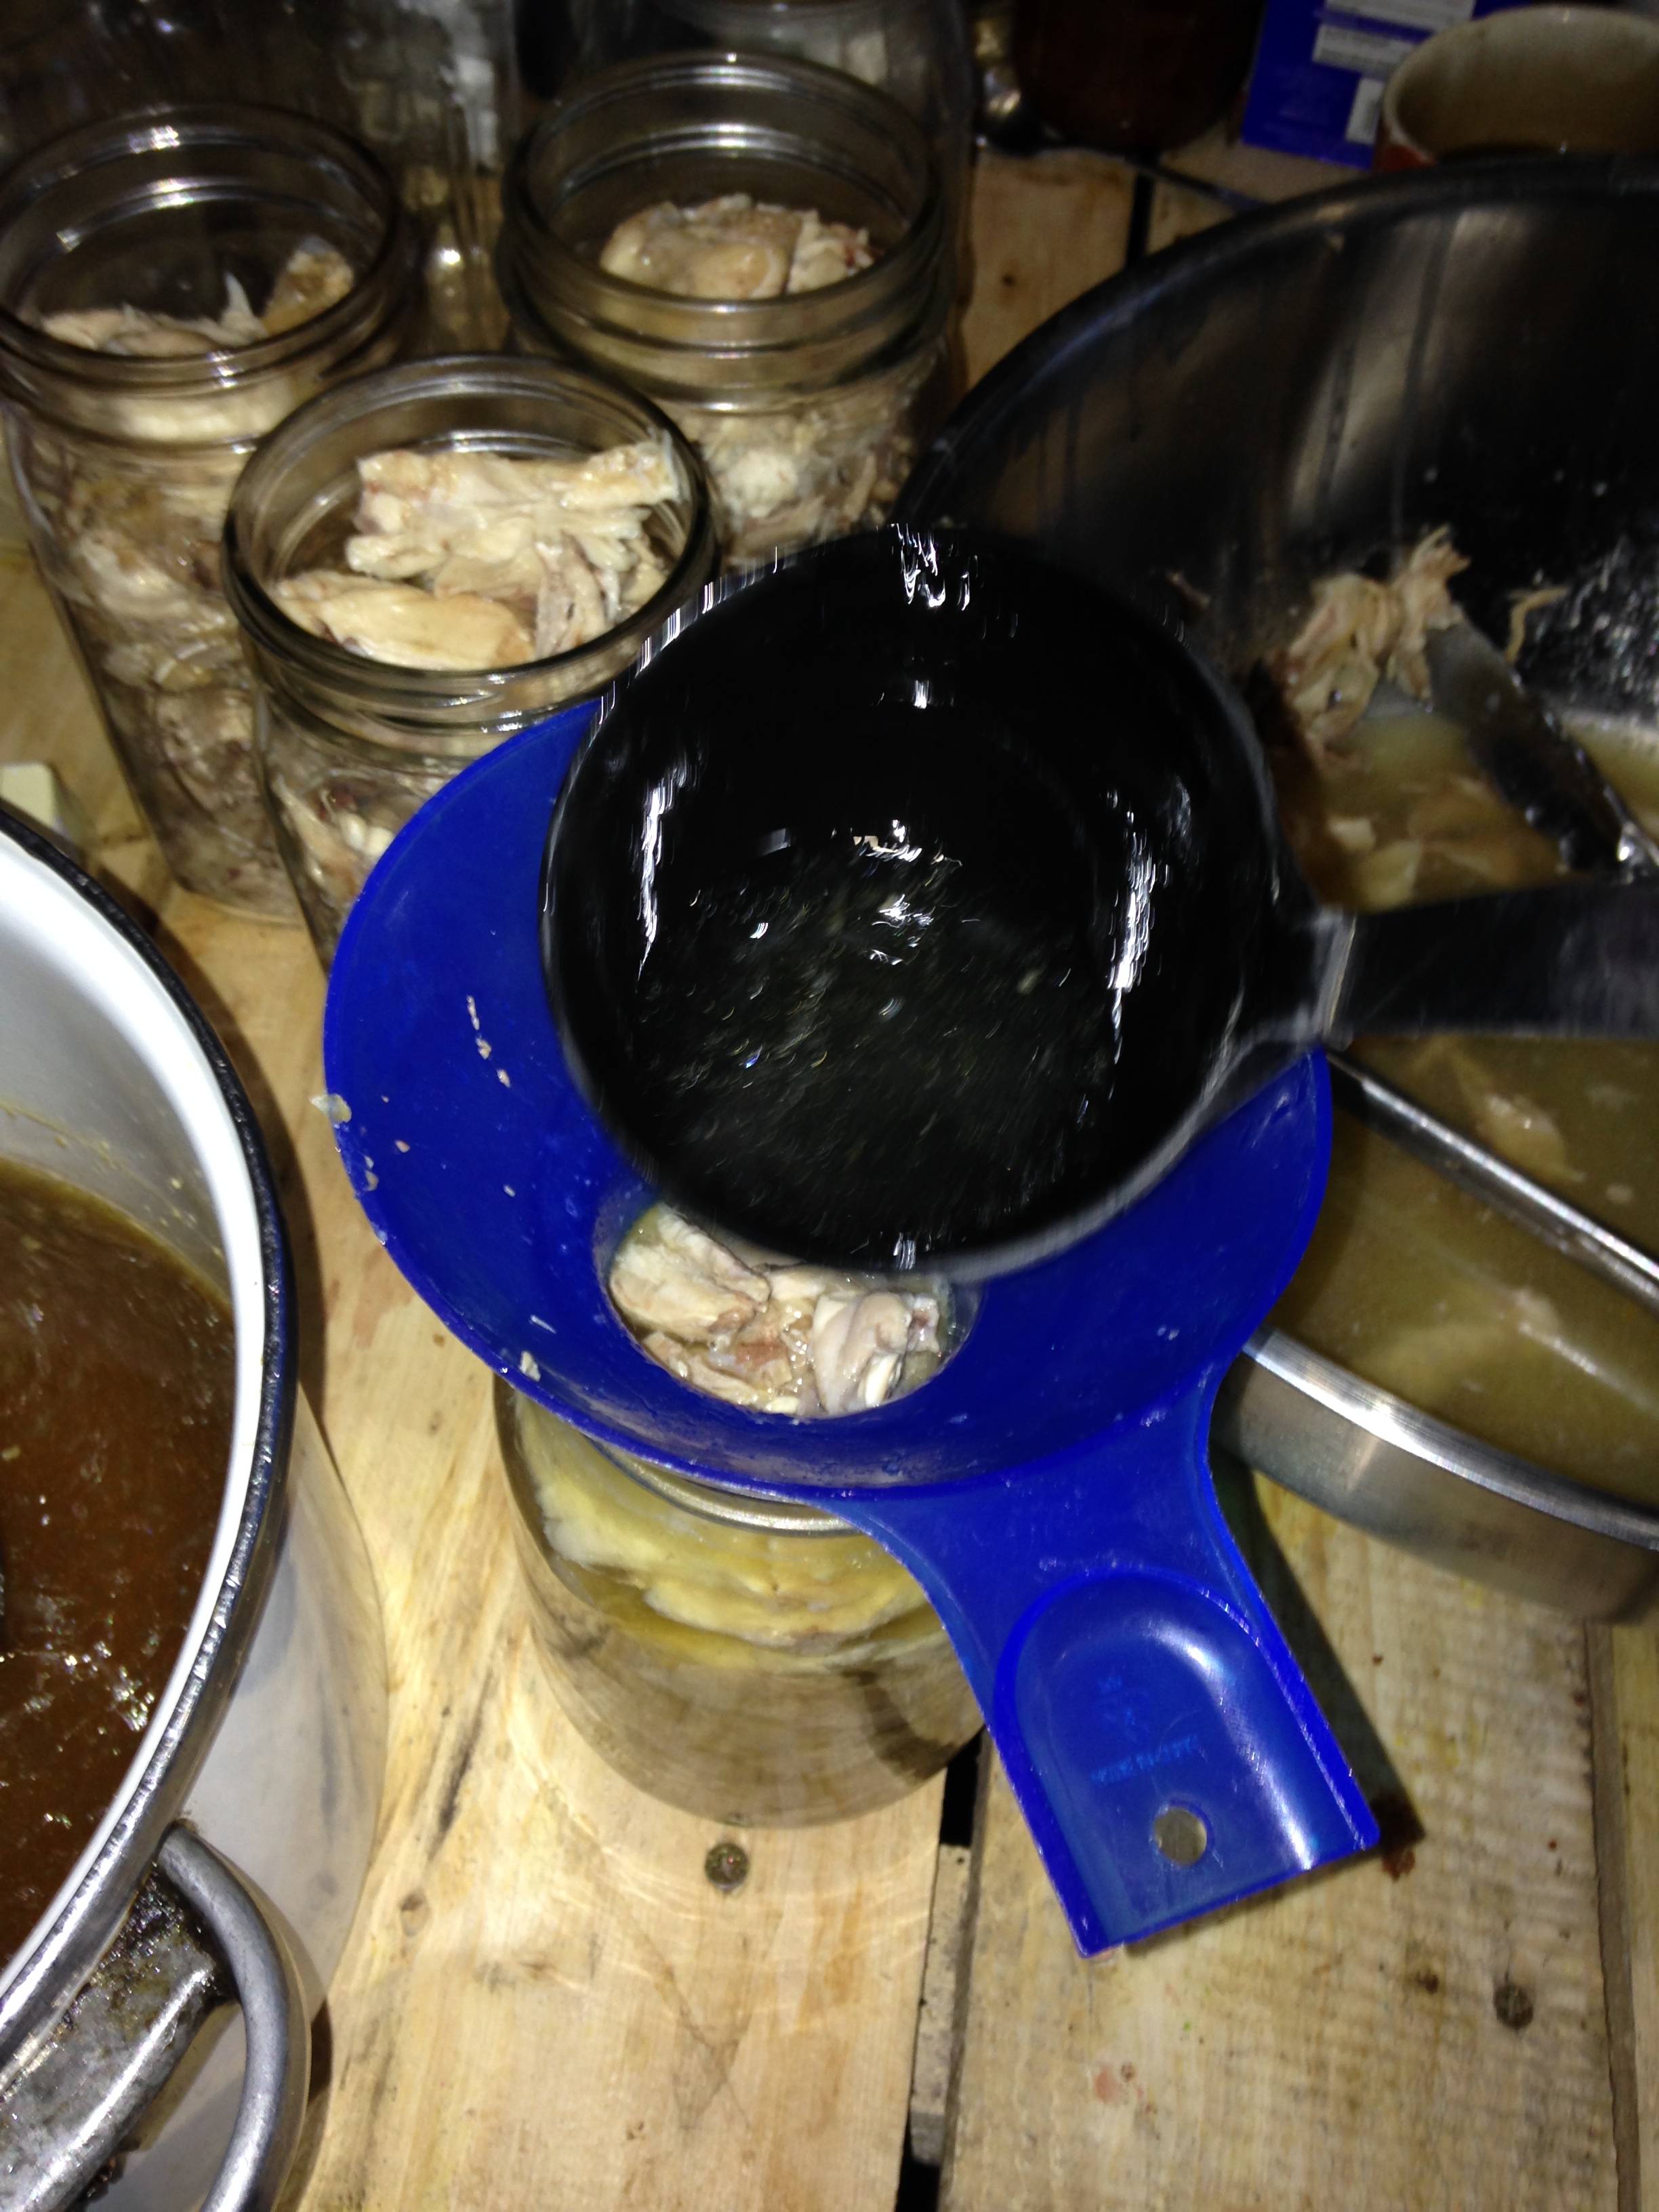
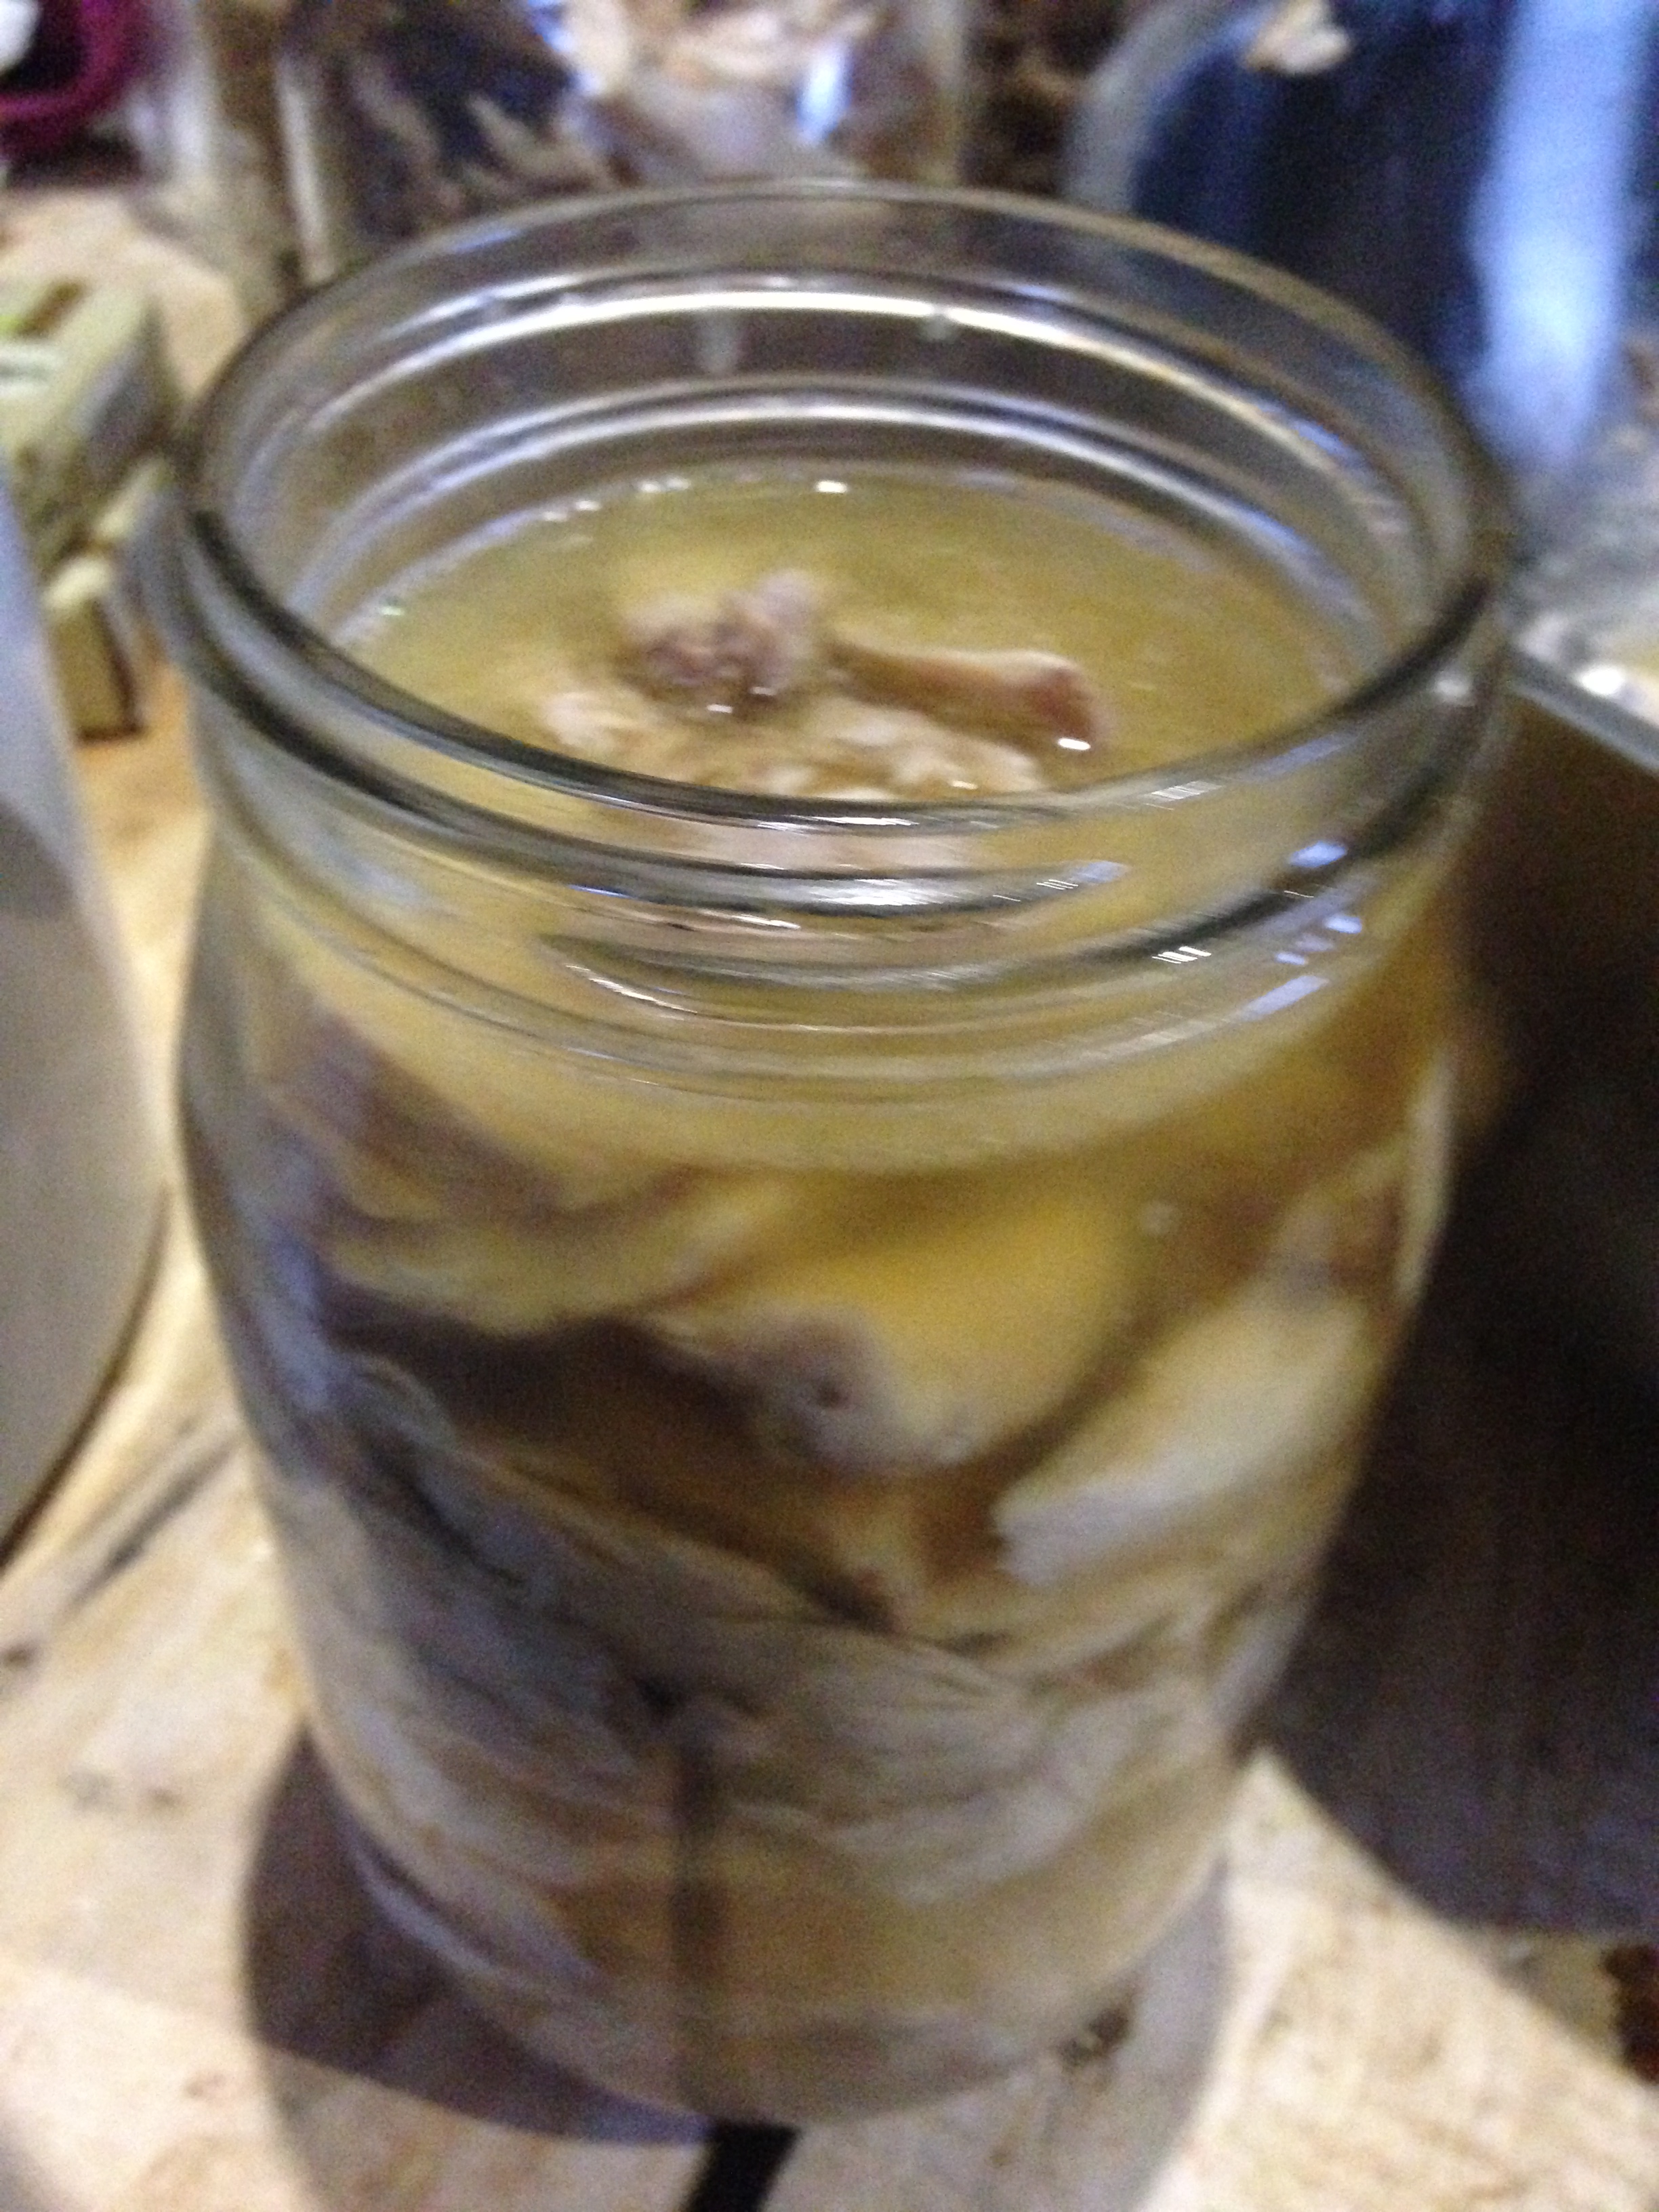
Have your jars sterilizing either in hot water or your dry cycle if you have a dishwasher while preparing the meat and broth. Once your ready to begin place a funnel over the mouth of jar and start lightly packing meat in jars filling them to within an inch and a half from the top. Then pour broth over to within an inch of the top. Insert a knife and run down the sides to remove any air bubbles adding more broth if needed. If you have leftover broth can that too!

Now place a lid and ring on each jar and tighten slightly. Do not over tighten as this will hinder the canning process.
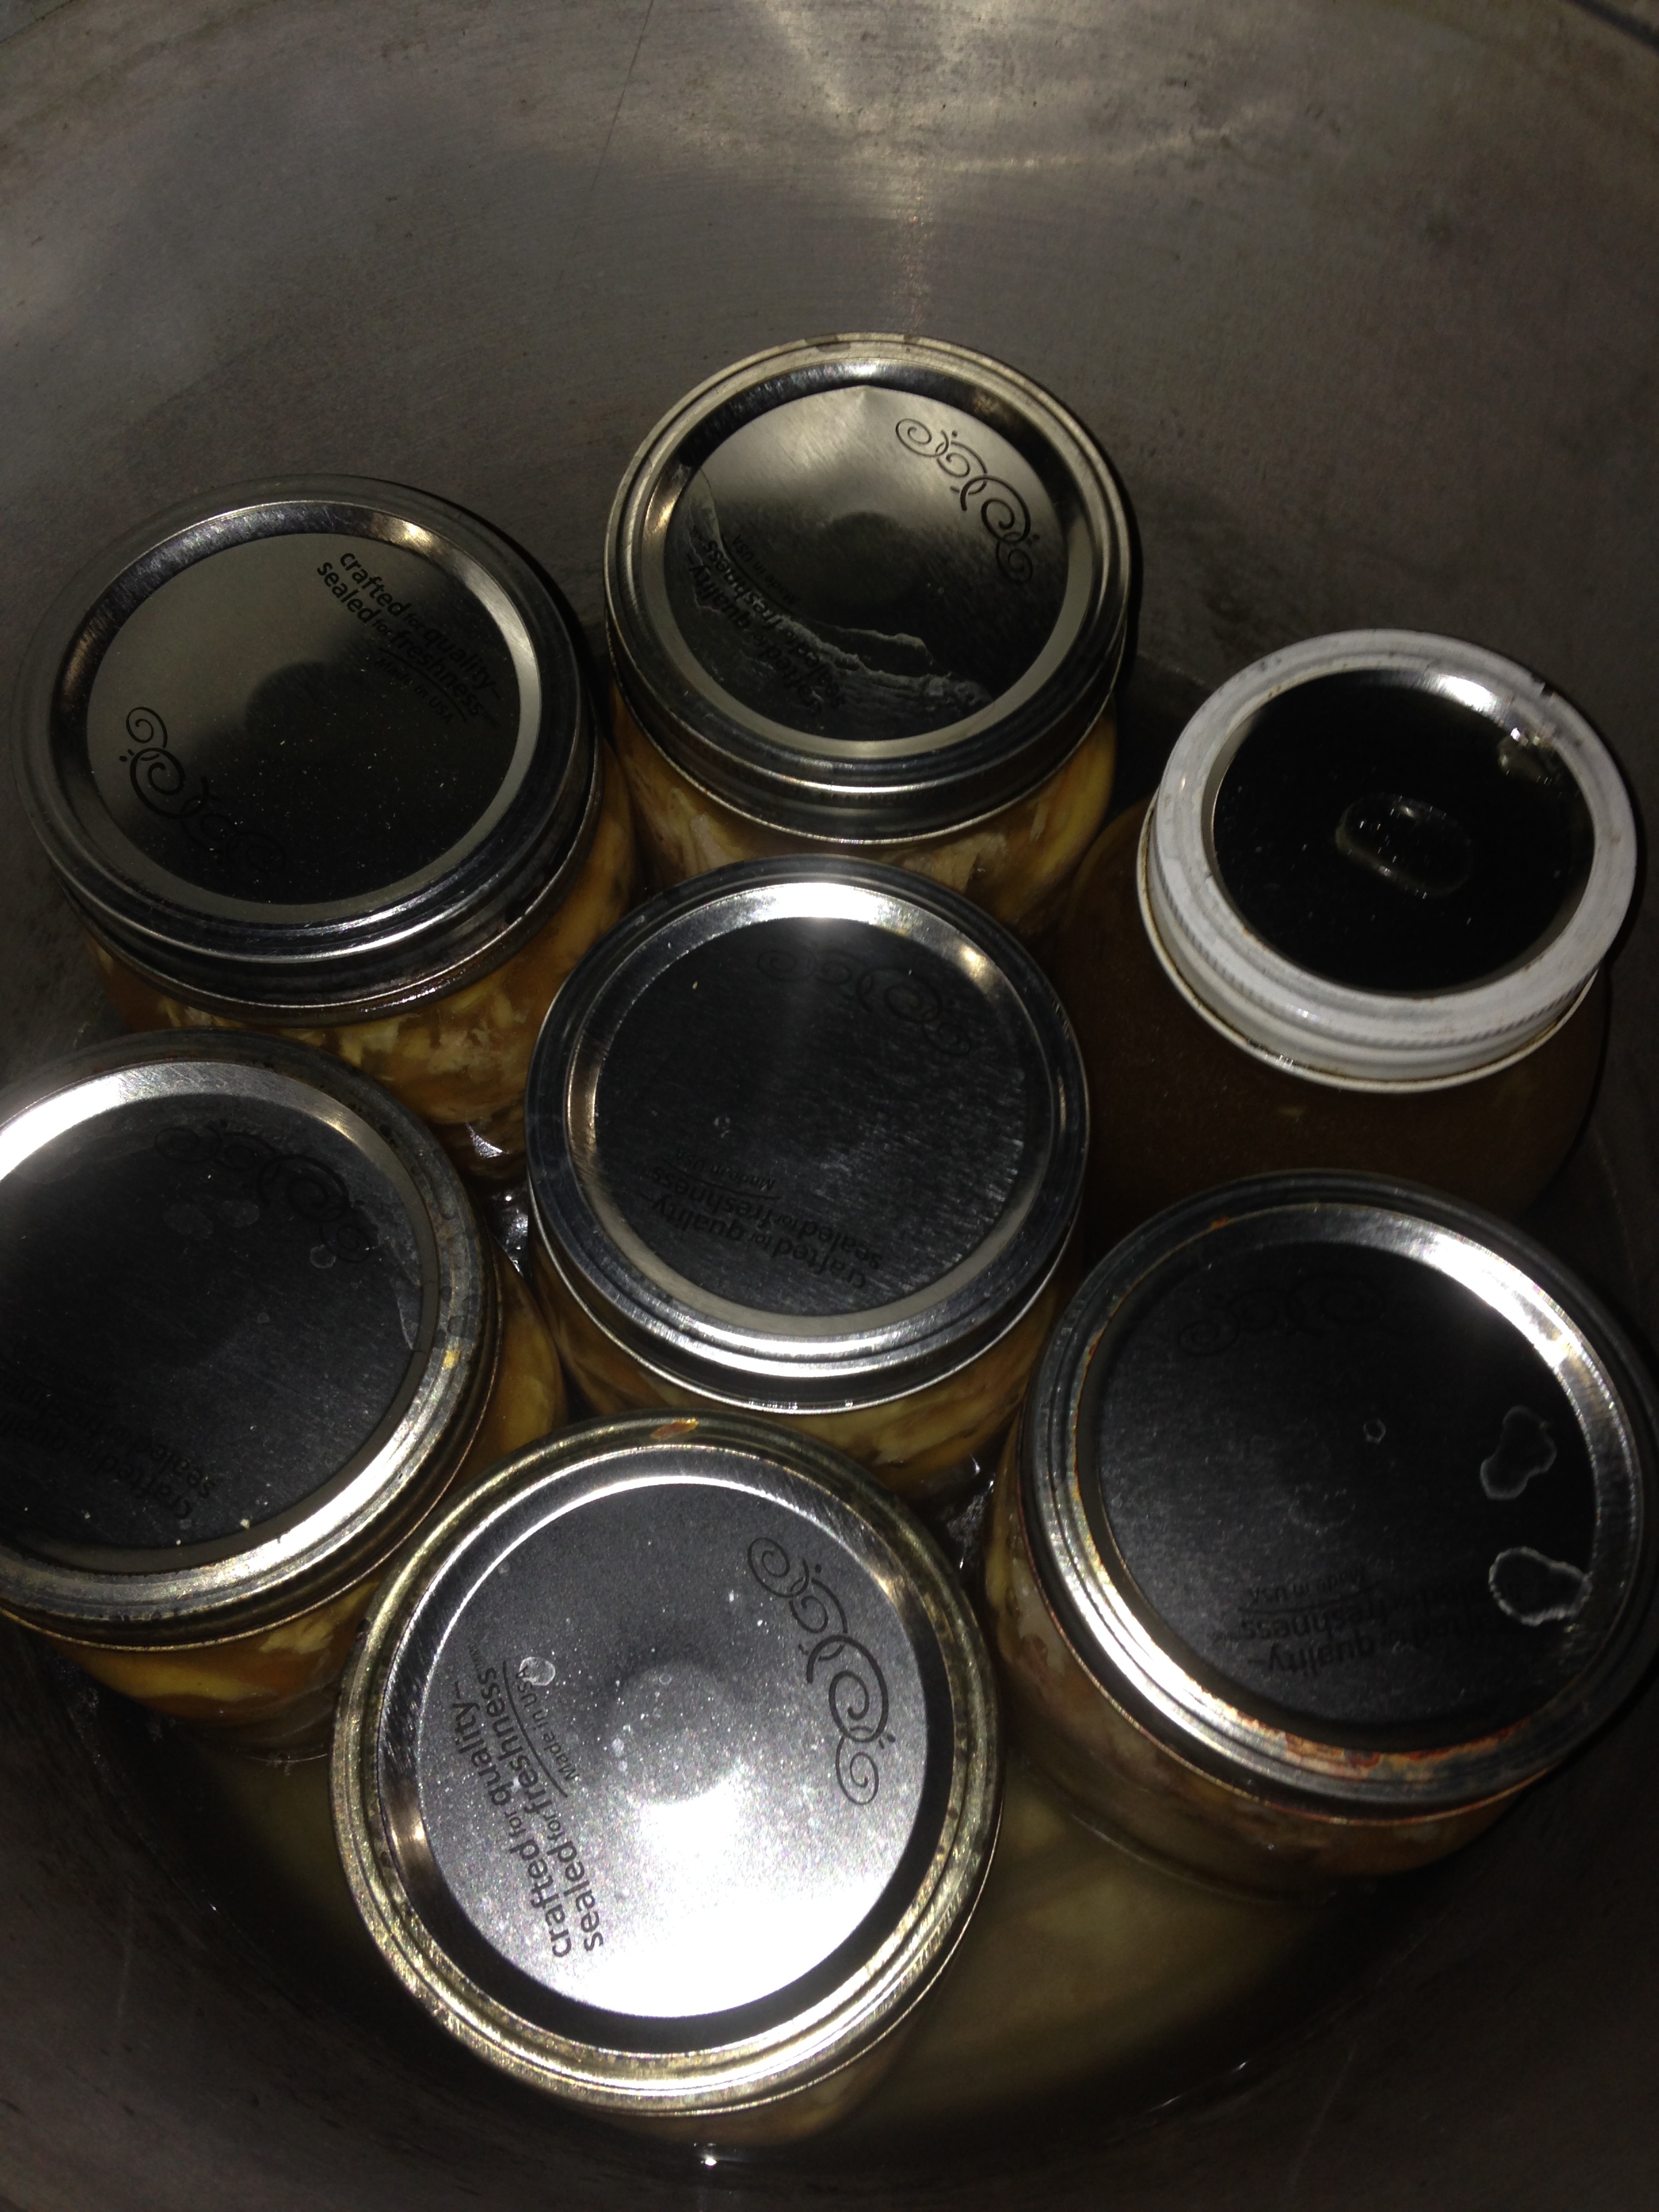
Fill canner with jars making sure you have your bottom rack in place then fill canner with water until the level is 2-3 inches from the bottom of the jars. Do not over fill with water as the steam is much hotter than water and this is what preserves the food.Add 2 tablespoons vinegar to the water to prevent mineral buildup on your jars from hard water.
Place lid on canner and per the manufacturers instructions process as you would for meat. At sea level with a dial guage canner its 11 pounds pressure for 90 minutes. Now before you start timing your canner remember to bring it to a boil weight off or pressure relief valve open then let it vent 15 minutes to release the some of the steam a balance out the pressure of the jars.
Once you have processed your jars for the appropriate time and pressure remove from heat -if using a gas or electric stove just shut it off. Resist the temptation to cool the canner rapidly or to release the pressure as this can cause your jars to boil over and not seal. Once the pressure it zero you can safely remove the lid.
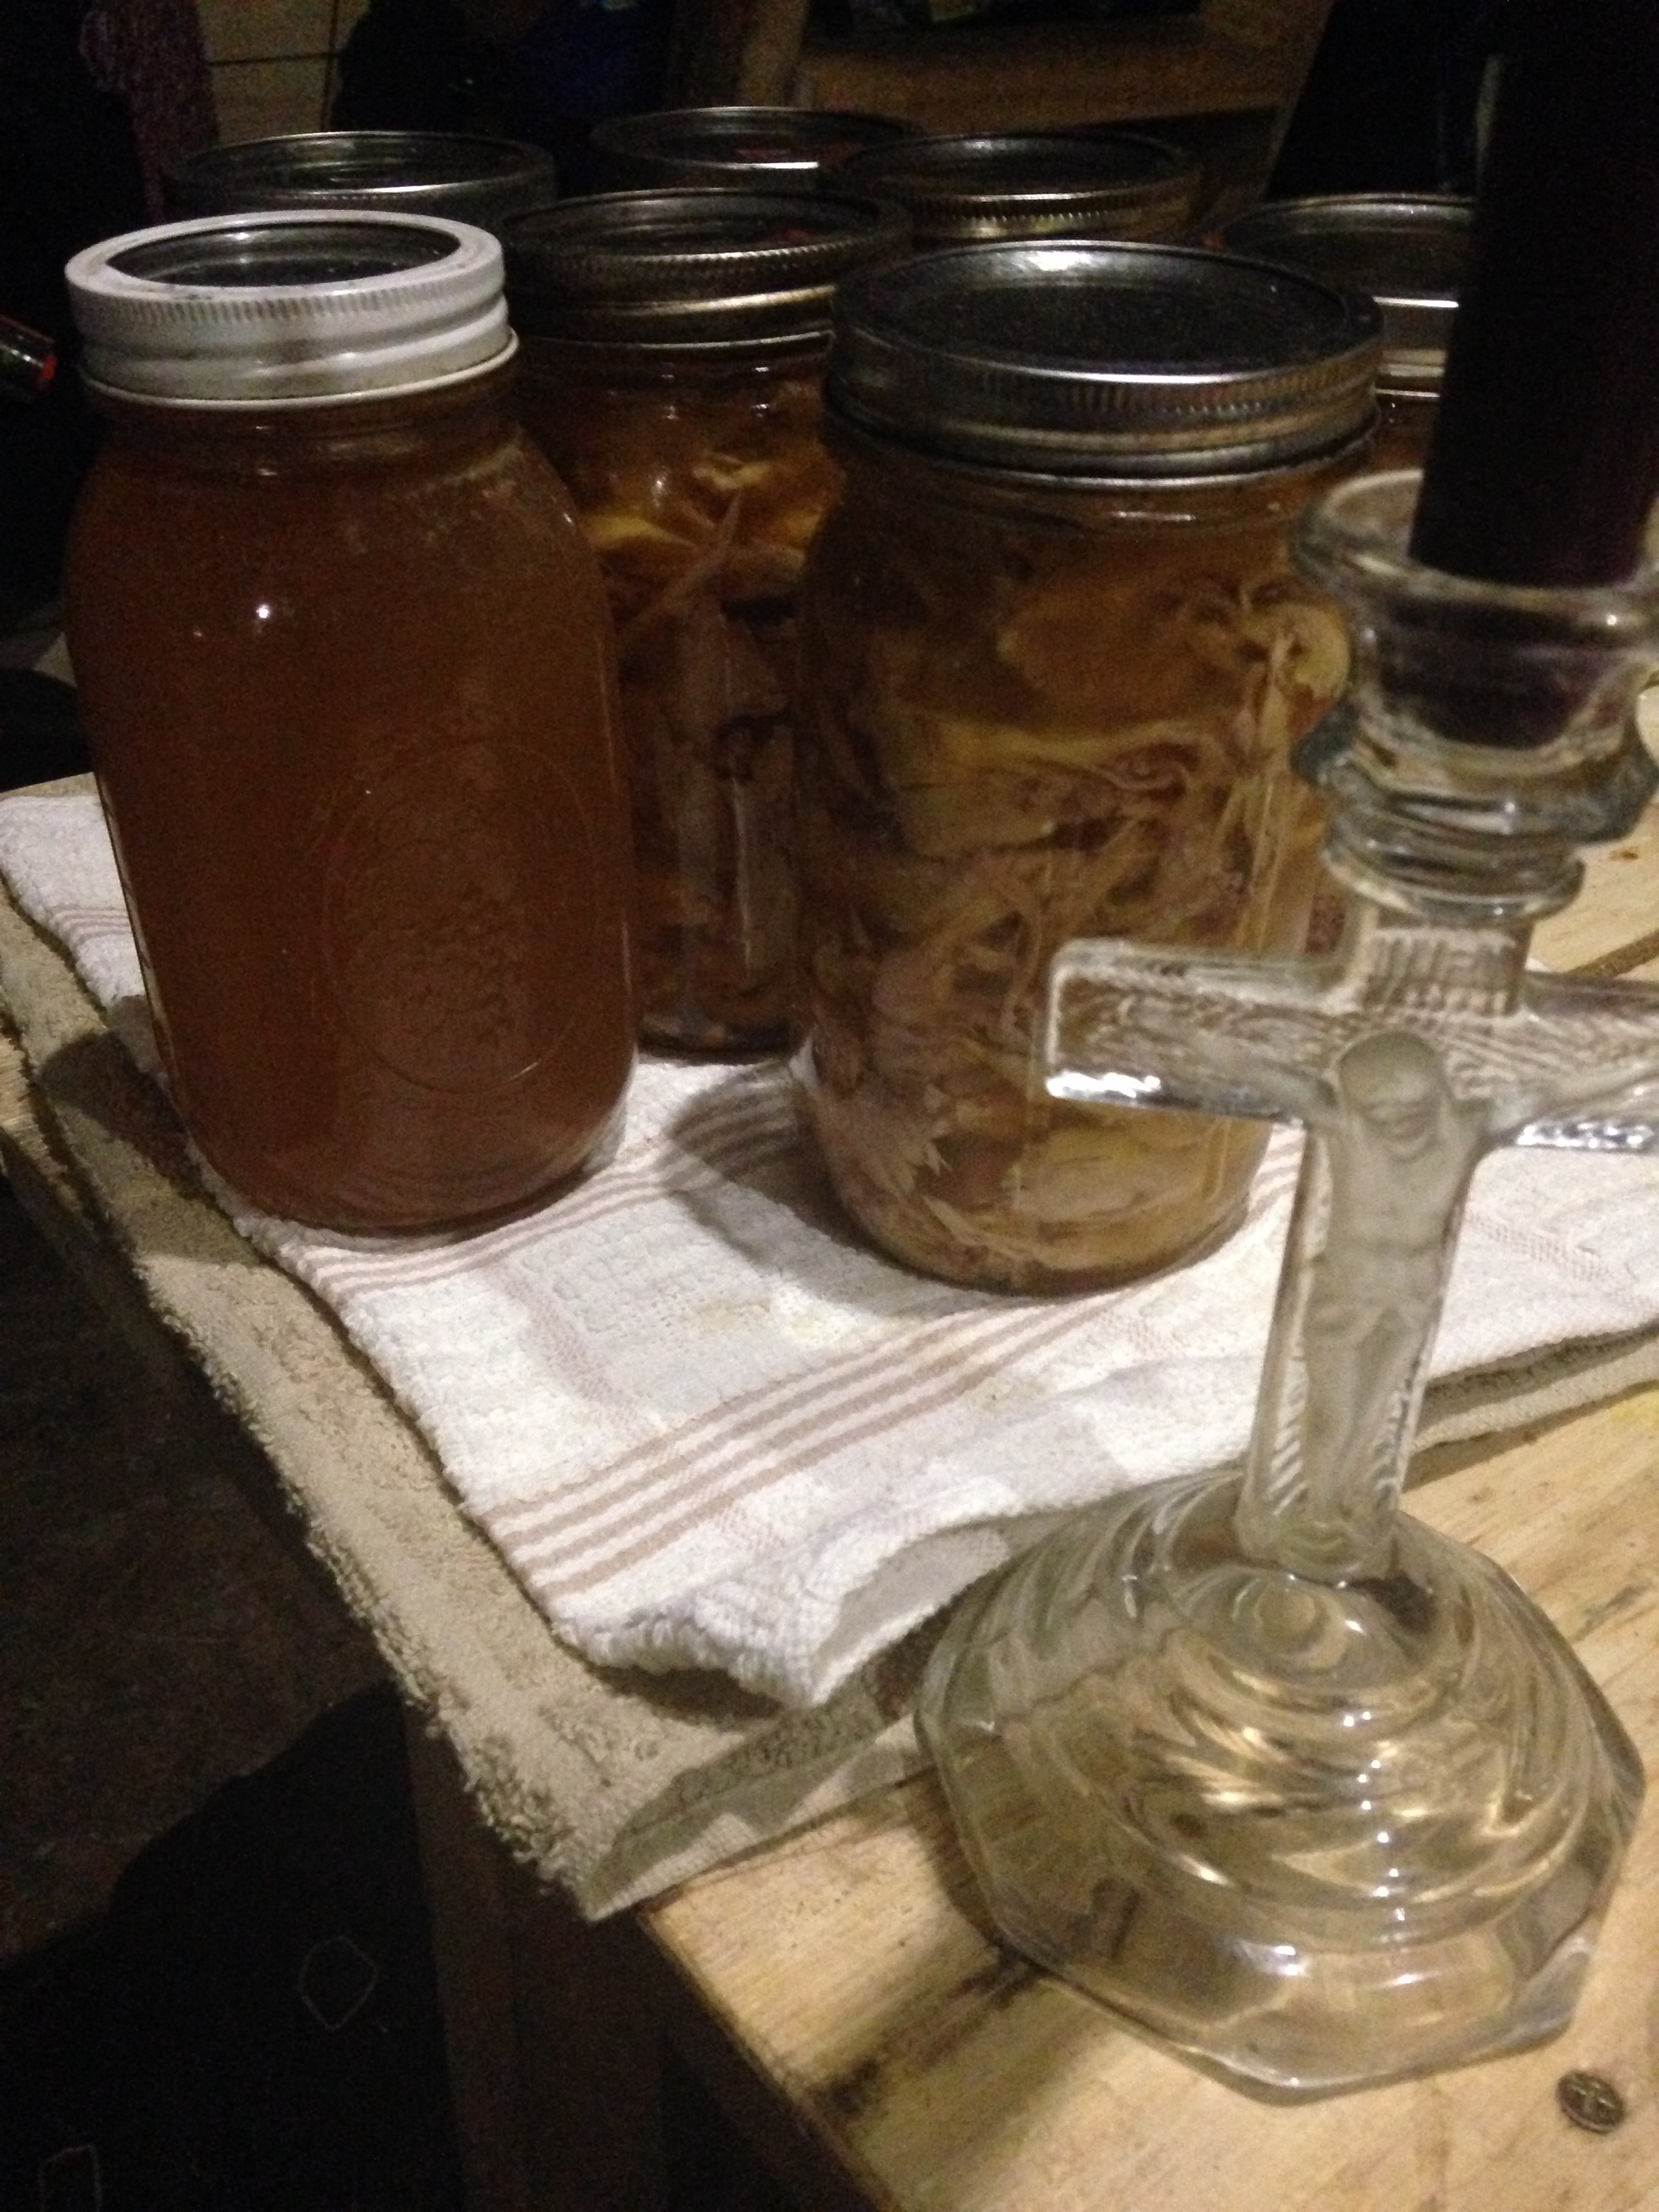
Remove the jars and place on a towel keeping jars from touching to cool. Once they are cool remove the outer ring label with contents and date and they are ready for your pantry. If any jars do not seal refrigerate and use within a couple of days or reprocess using a new lid.
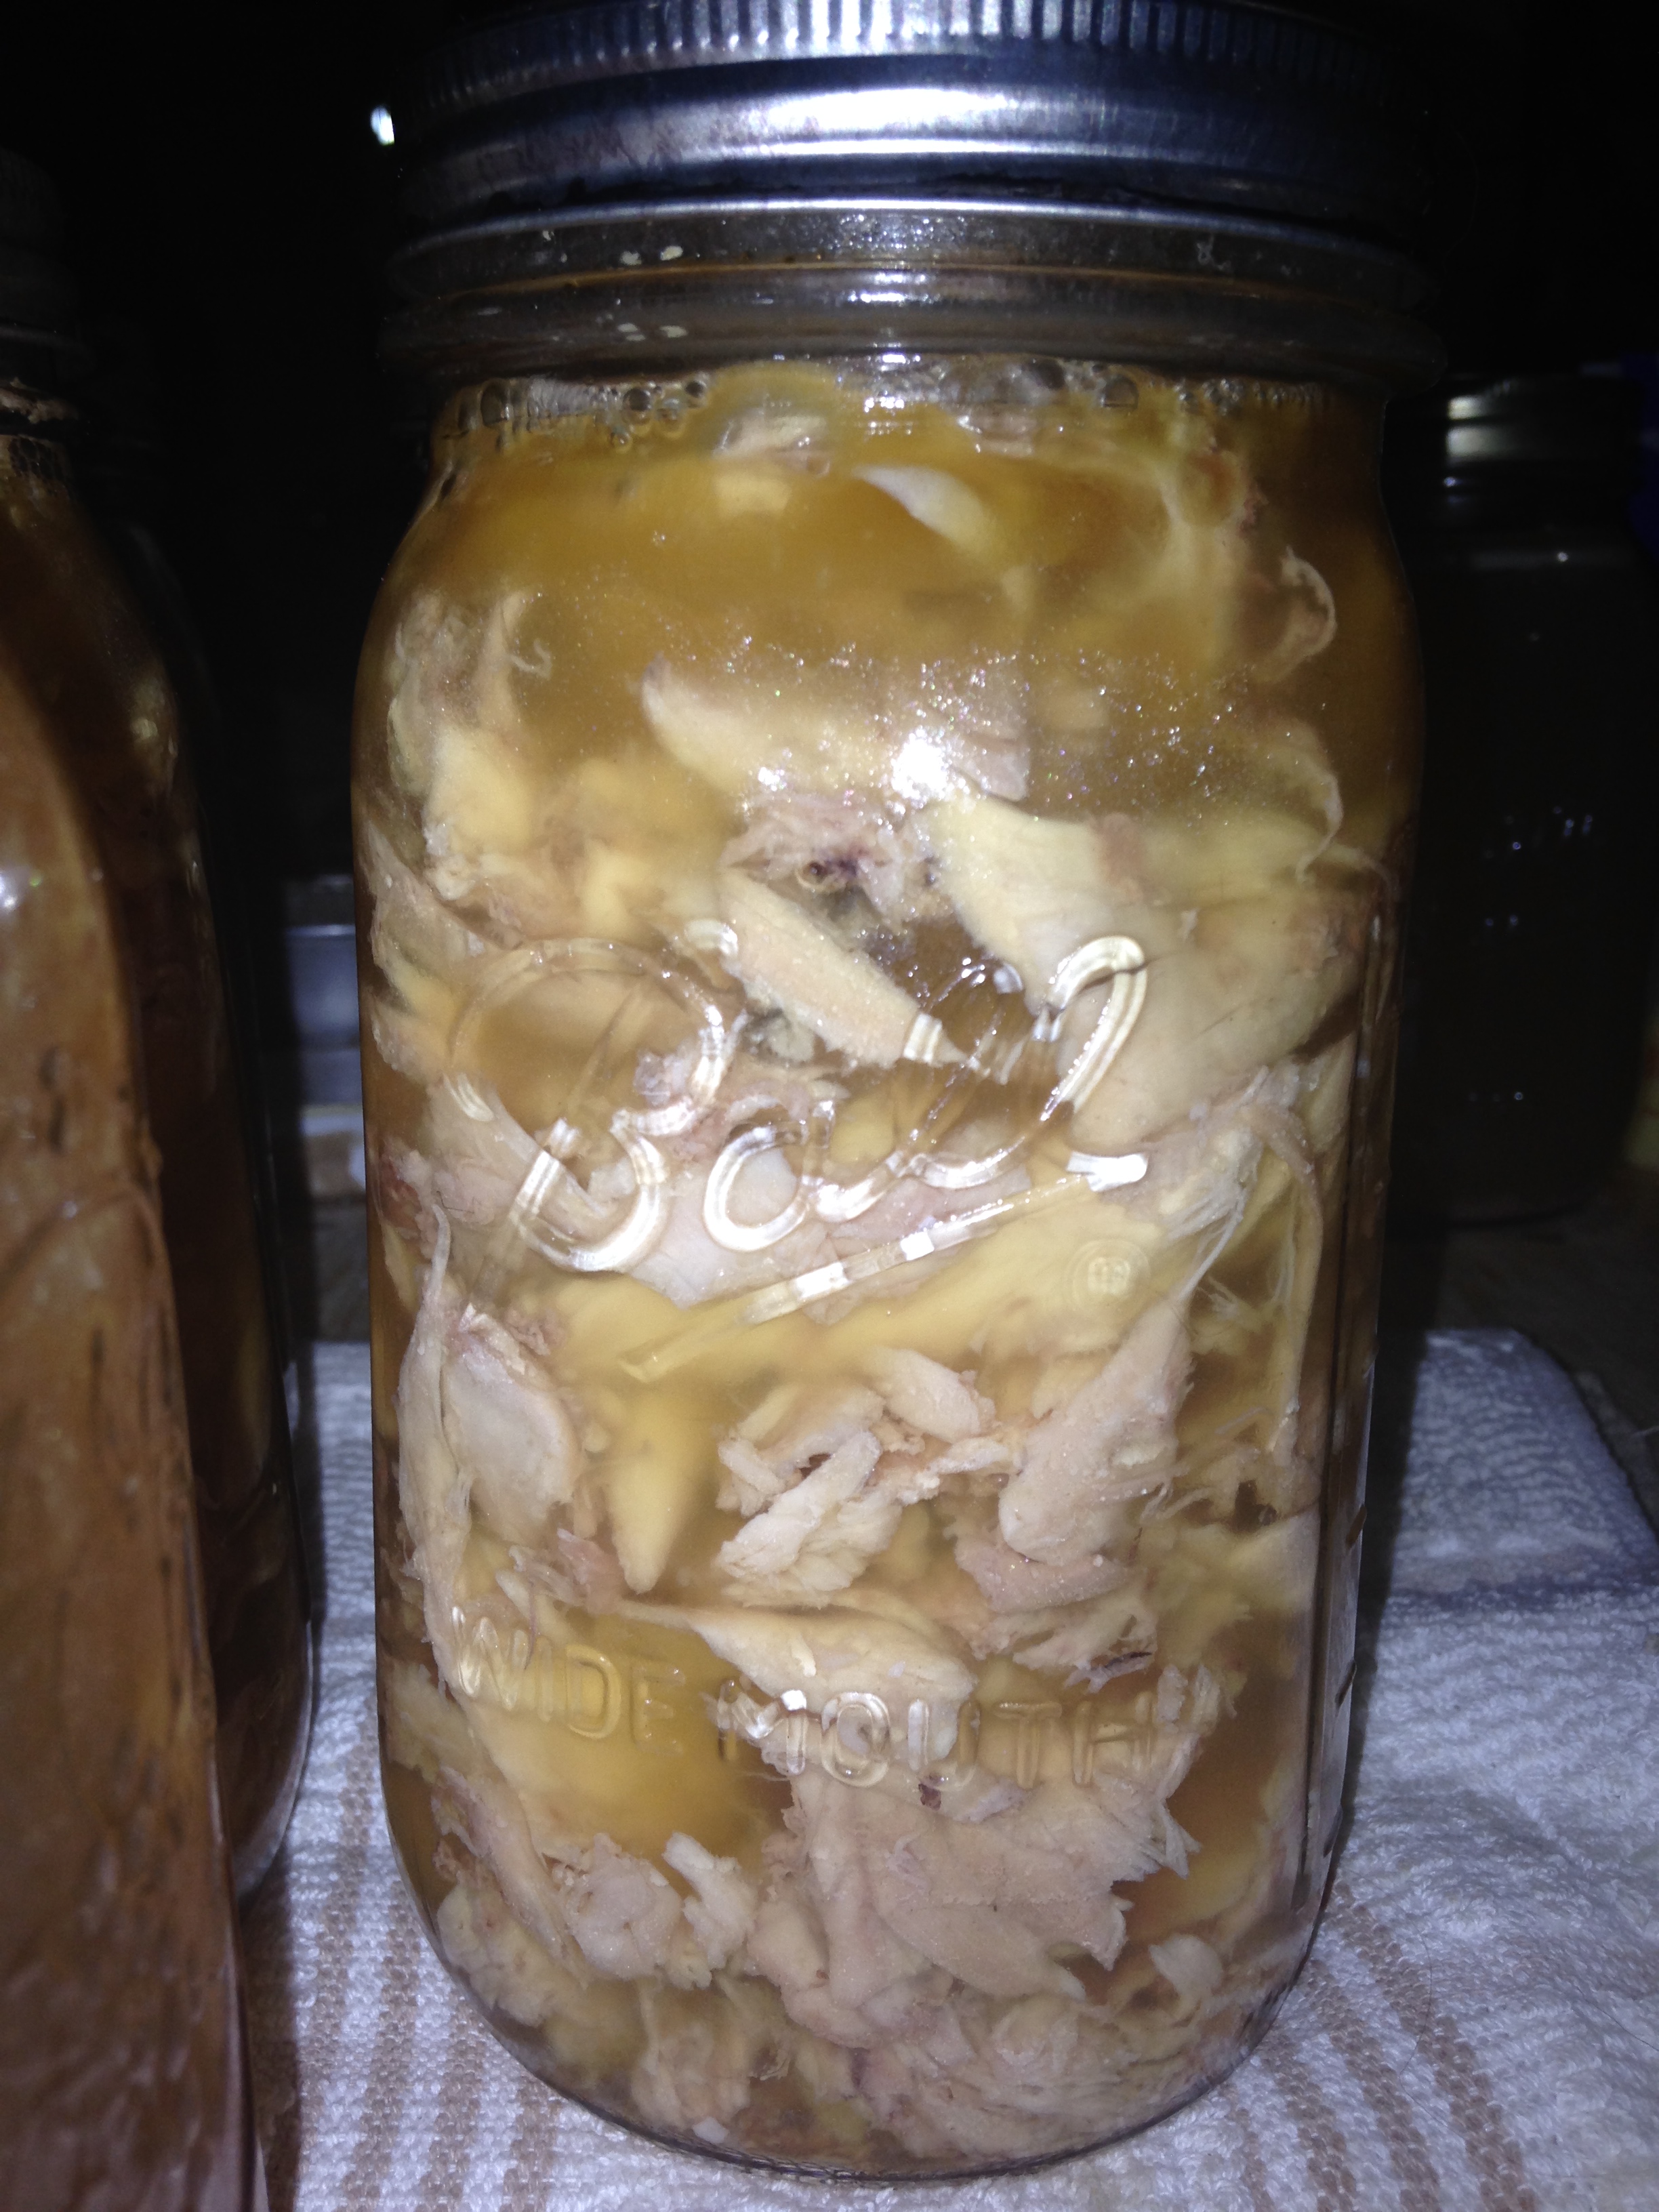
Rabbit is a mild flavored white meat that will take on the flavors of the seasonings you add. I use rabbit as a substitute for chicken soups, pasta dishes, pot pies and casseroles.
Now you are left with a pile of hides-Don’t throw them out tan them. I have included a link below with the easiest method ever!
***My only change is to split the belly-much easier skinning and tanning
http://www.motherearthnews.com/diy/how-to-tan-a-rabbit-hide-zmaz83jfzraw.aspx#axzz3NGDnh4hy
